简介
项目开发框架
- 后端框架:Springboot + MyBatisPlus
- 前端框架:Vue + ElementU
- 项目部署:集成打包 + 云部署
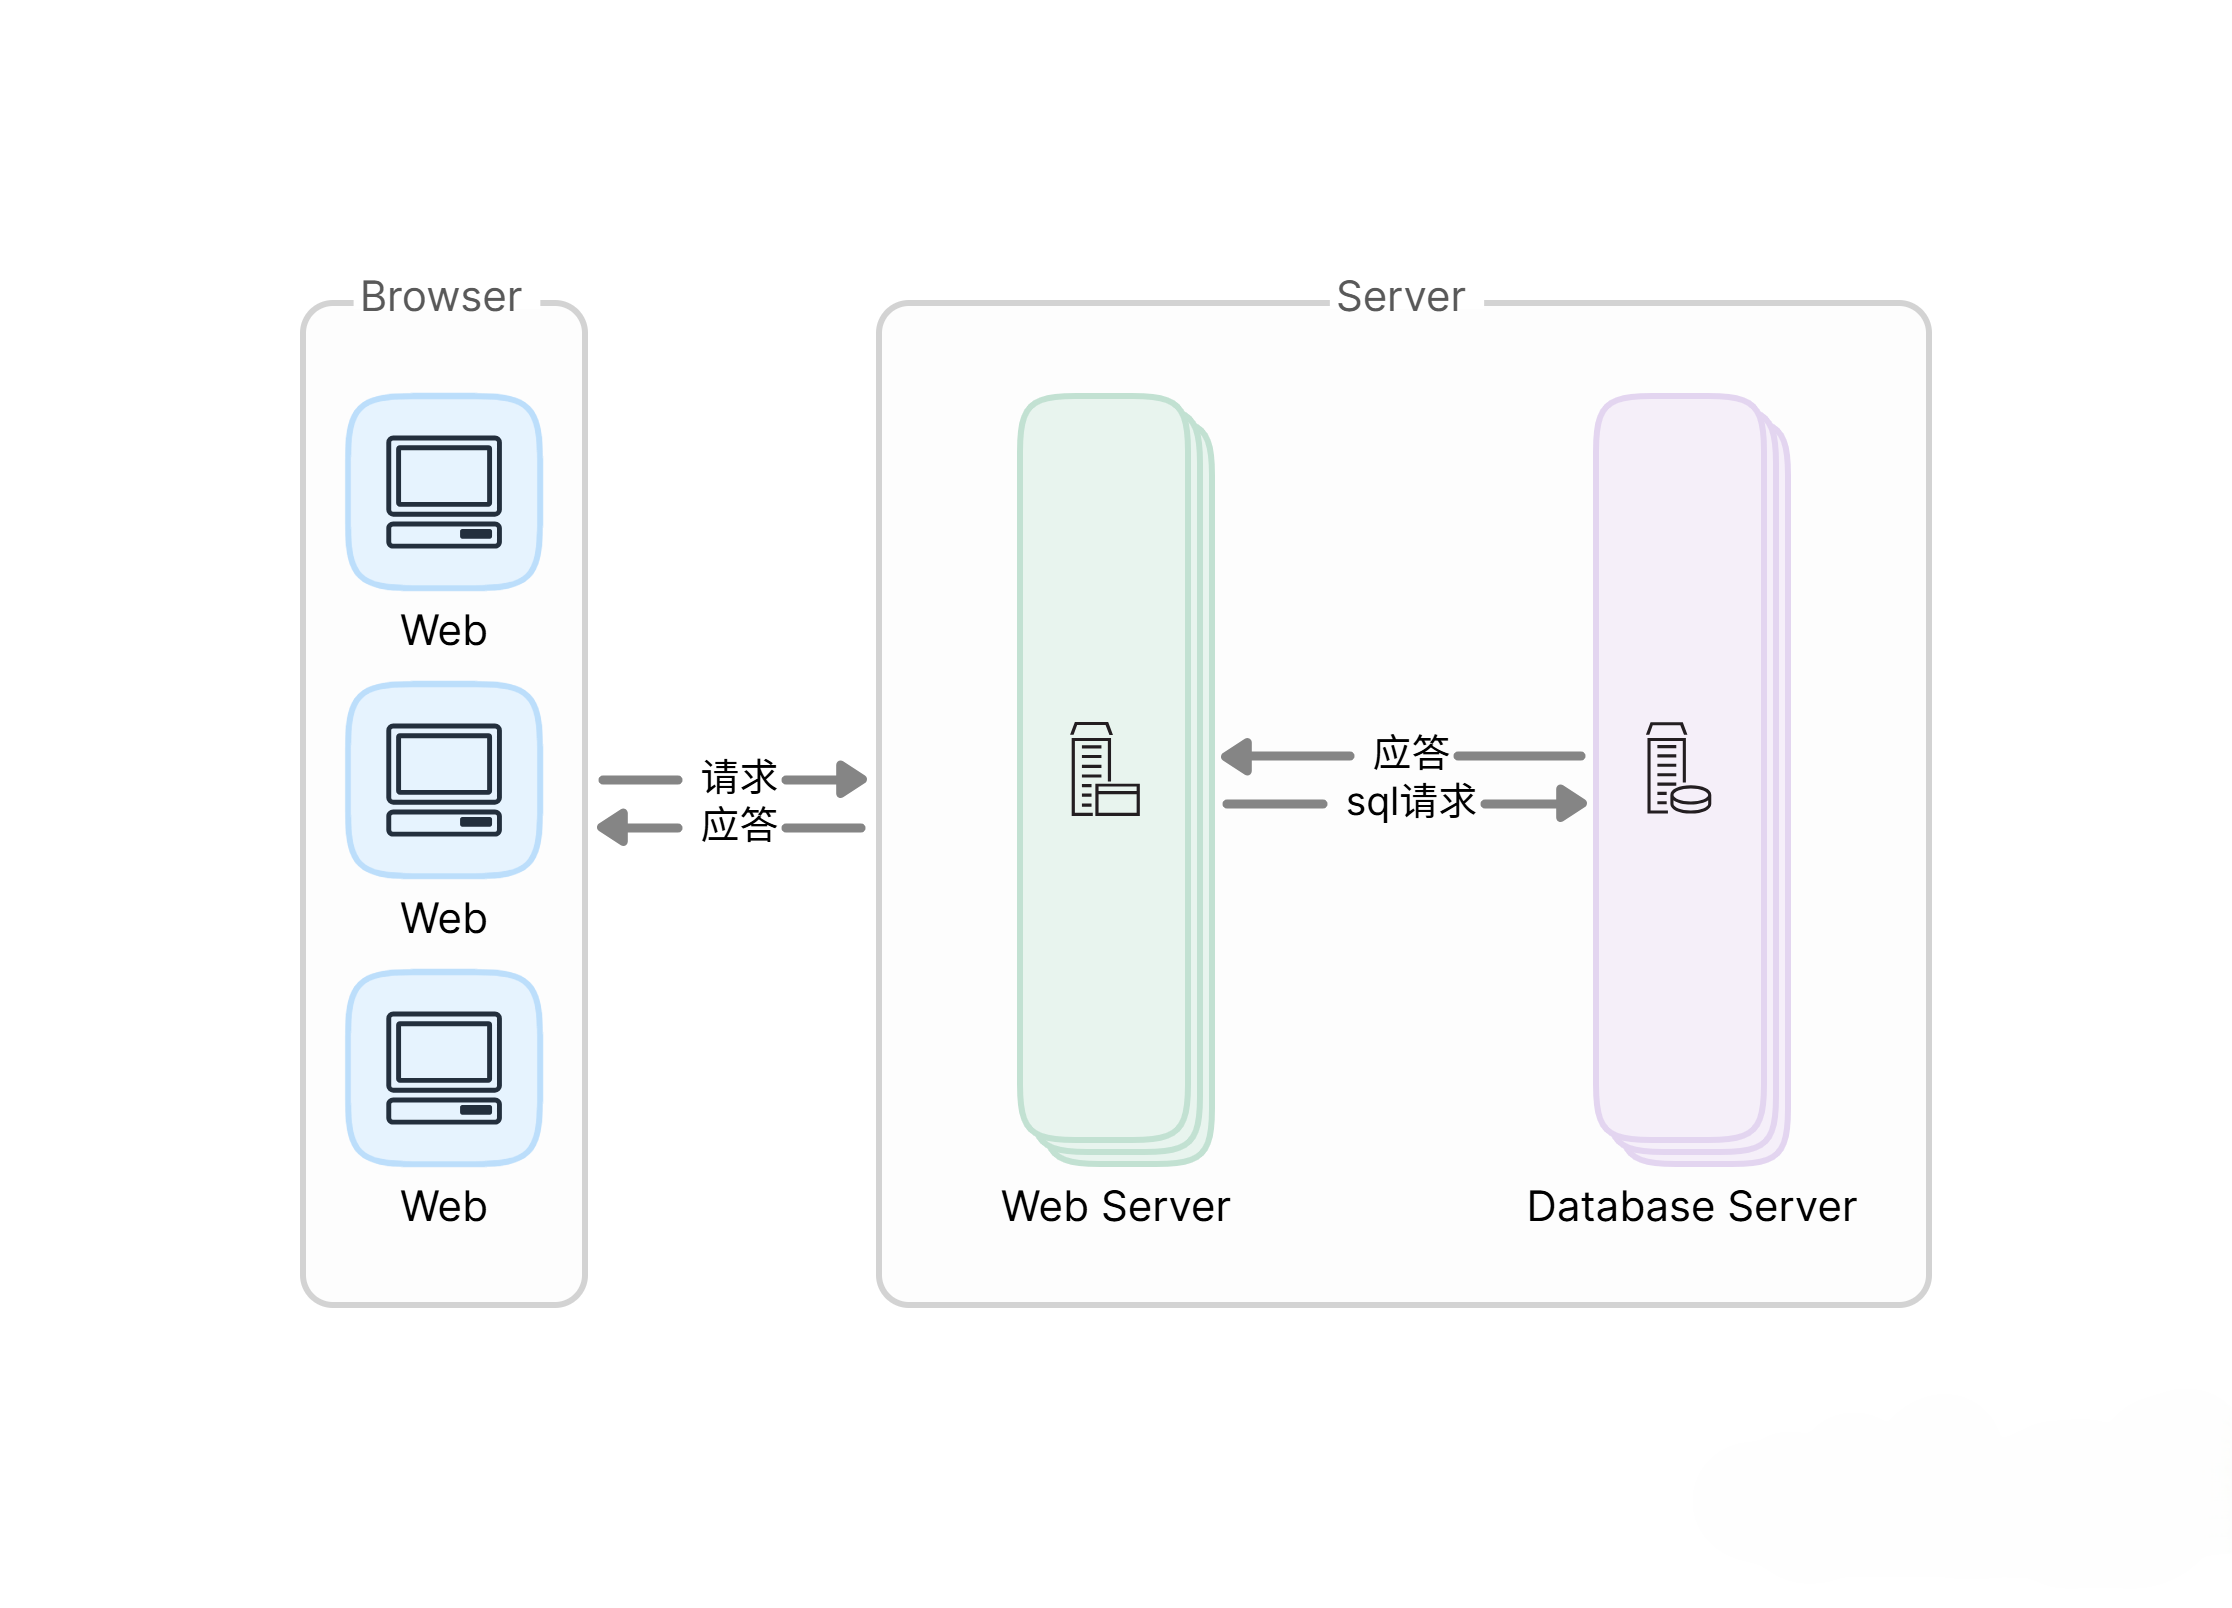
BS 架构原理
开发环境准备
- JDK下载安装
- Maven安装配置
- IDEA 开发工具安装使用
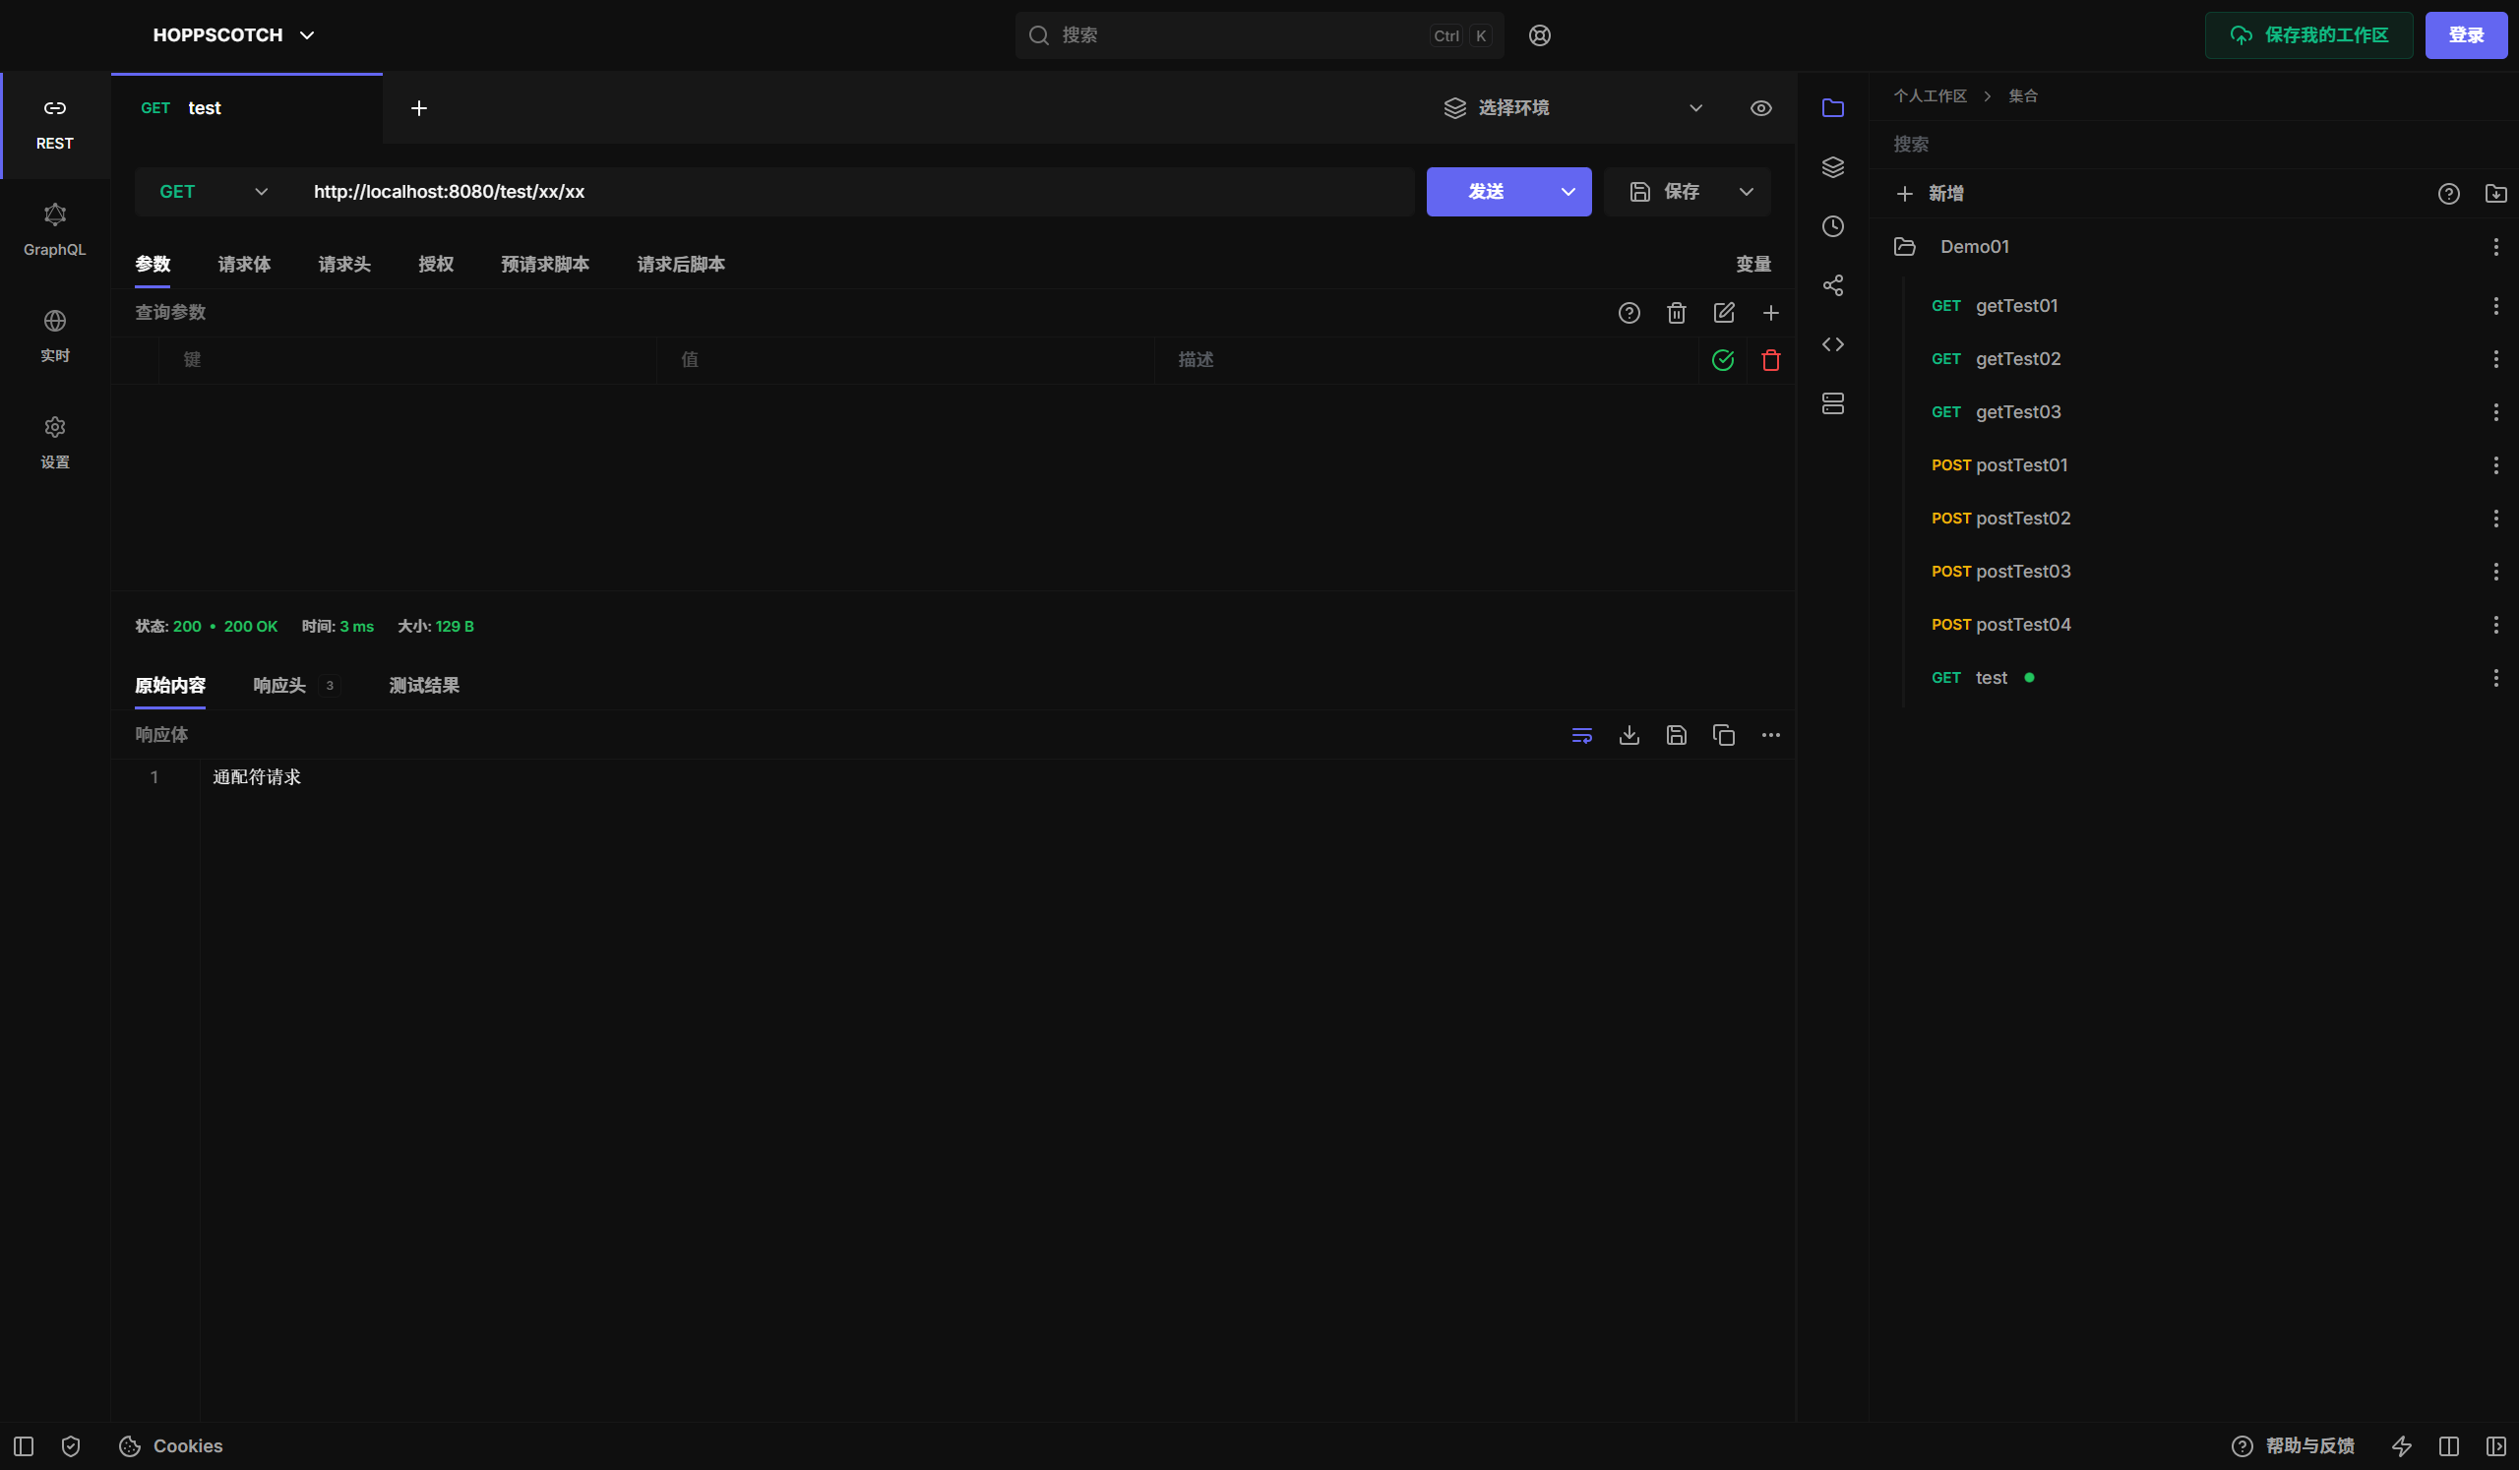
- HoppStoch/Postman/ApiPost测试工具安装
SpringBoot快速上手
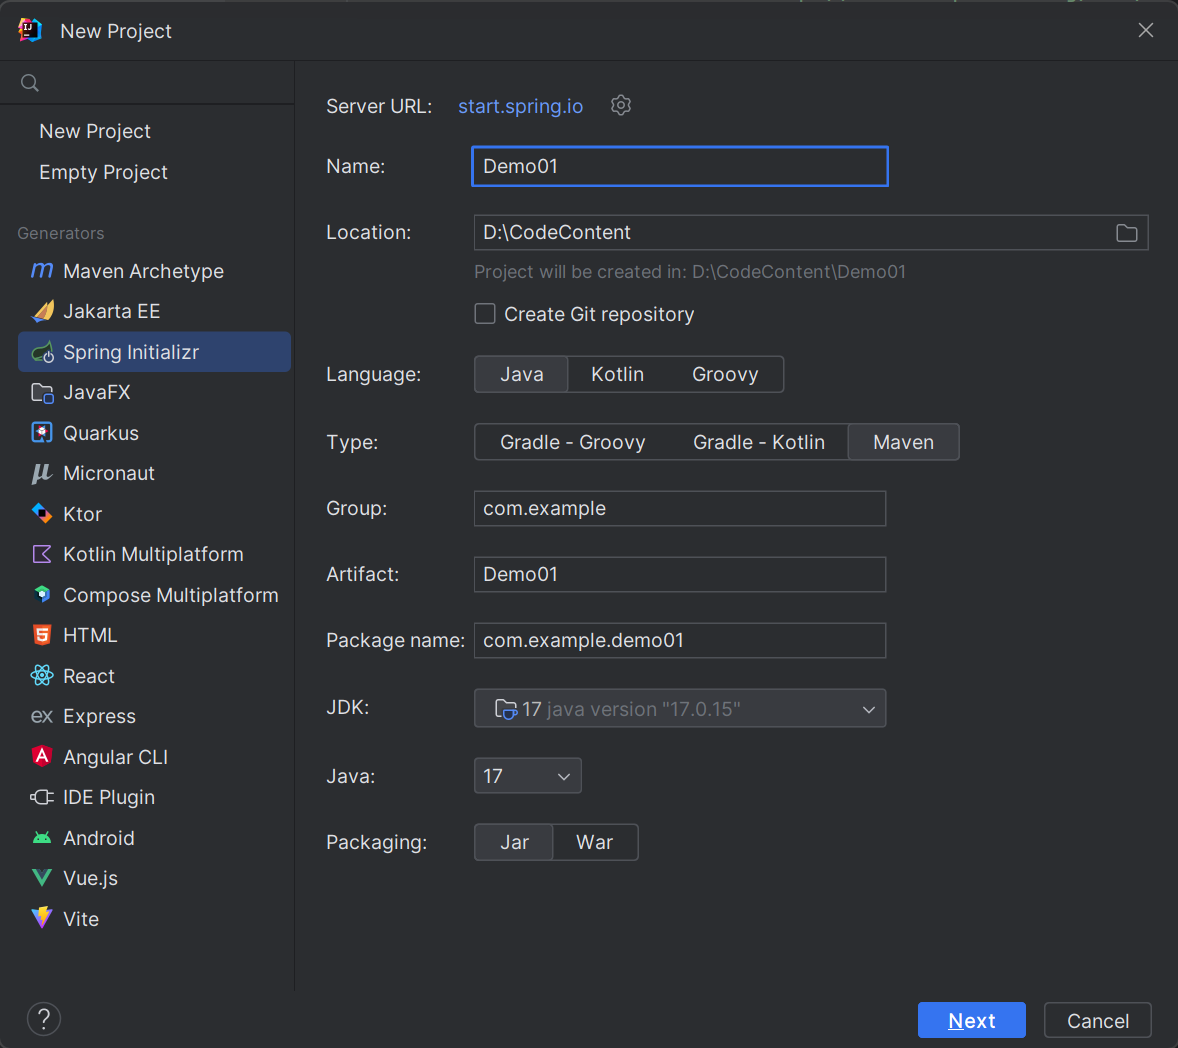
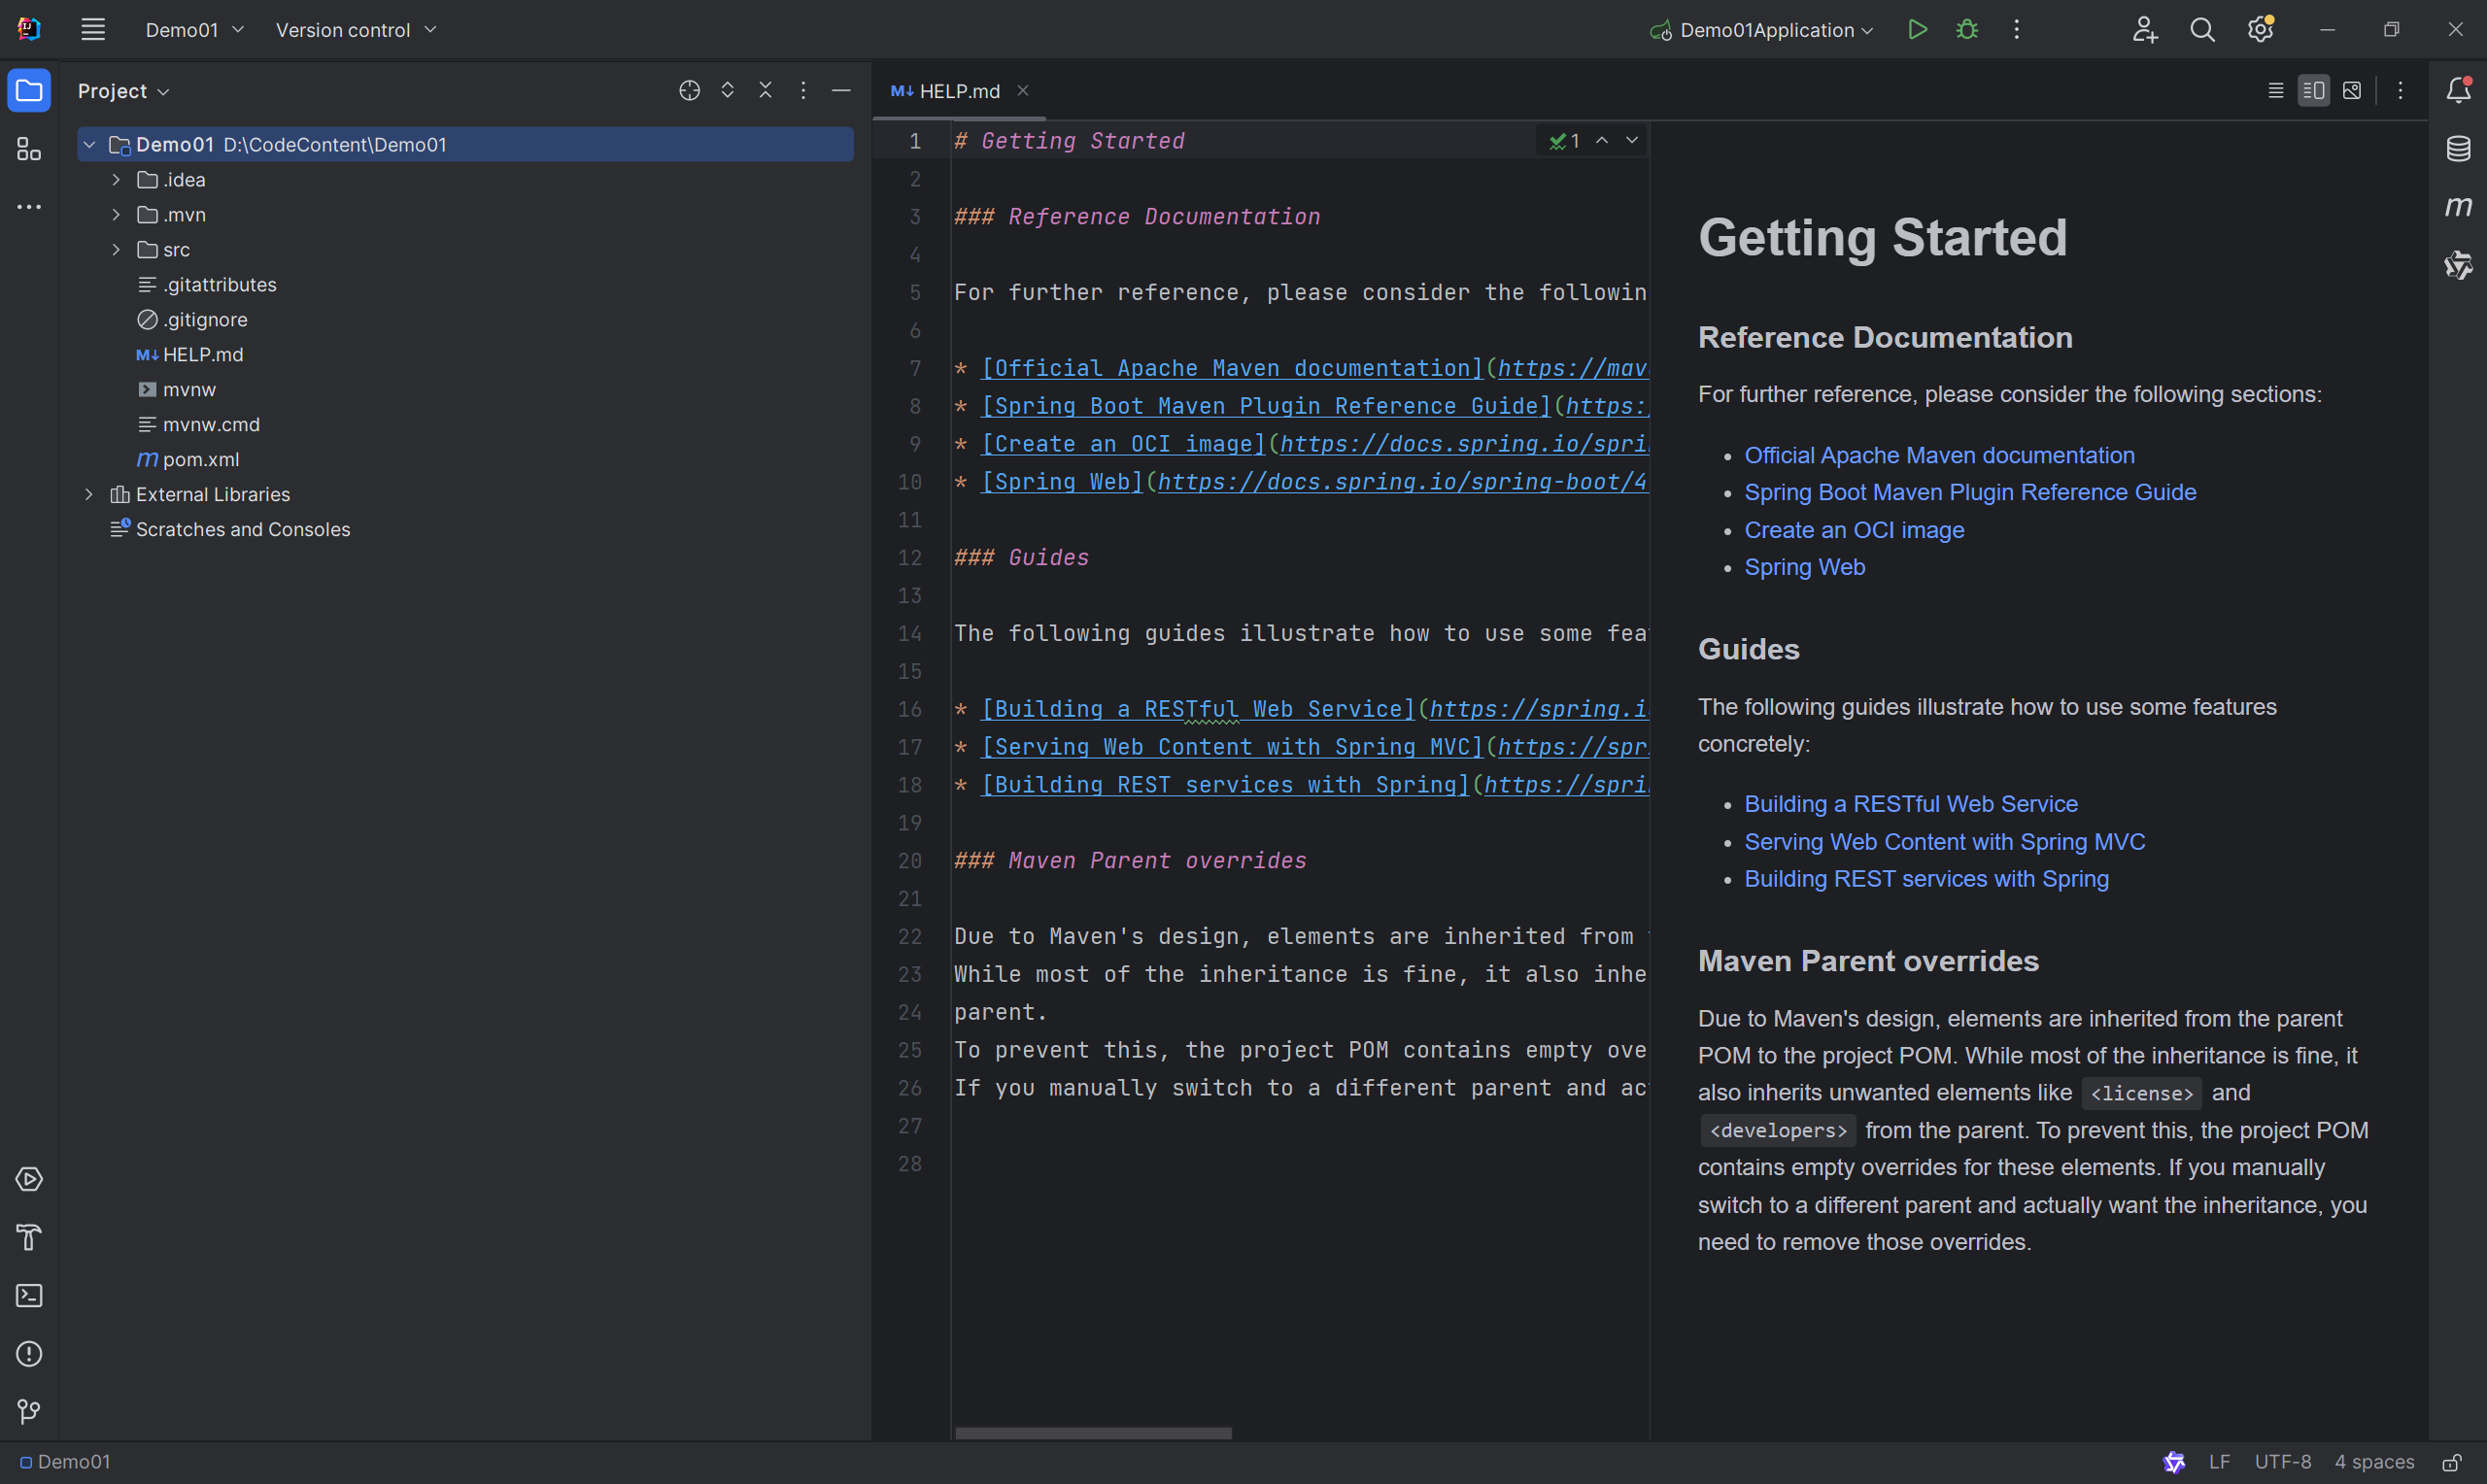
创建项目
创建项目方式选择Spring Initializr
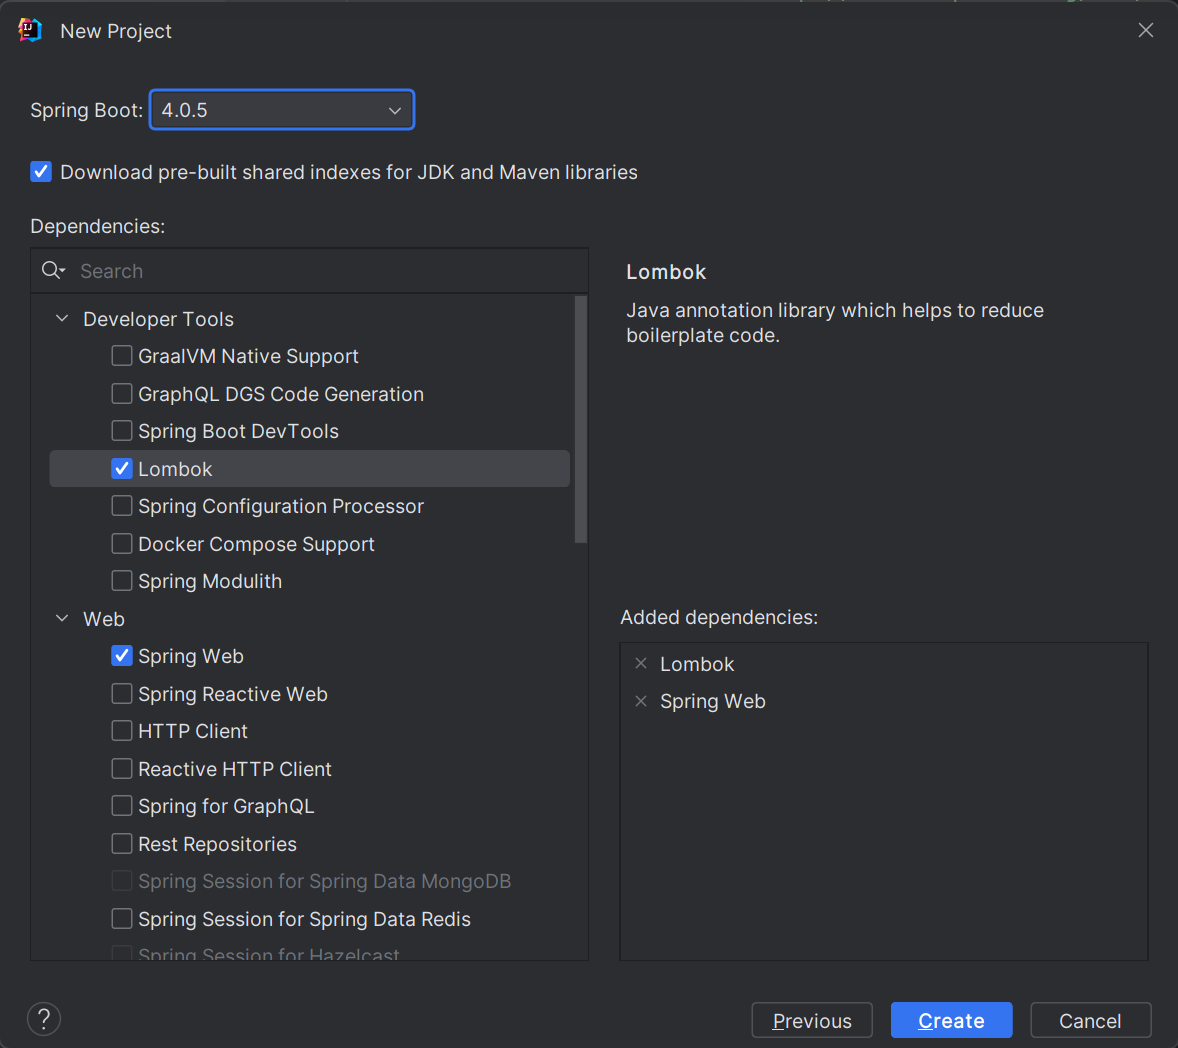
勾选Lombok和Spring Web后创建
项目创建后,等依赖下载完成
创建接口
新建hello测试接口
新建名为Controller的包→创建DemoController.java
package com.example.demo01.controller;

import org.springframework.web.bind.annotation.GetMapping;
import org.springframework.web.bind.annotation.RestController;

@RestController
public class DemoController {
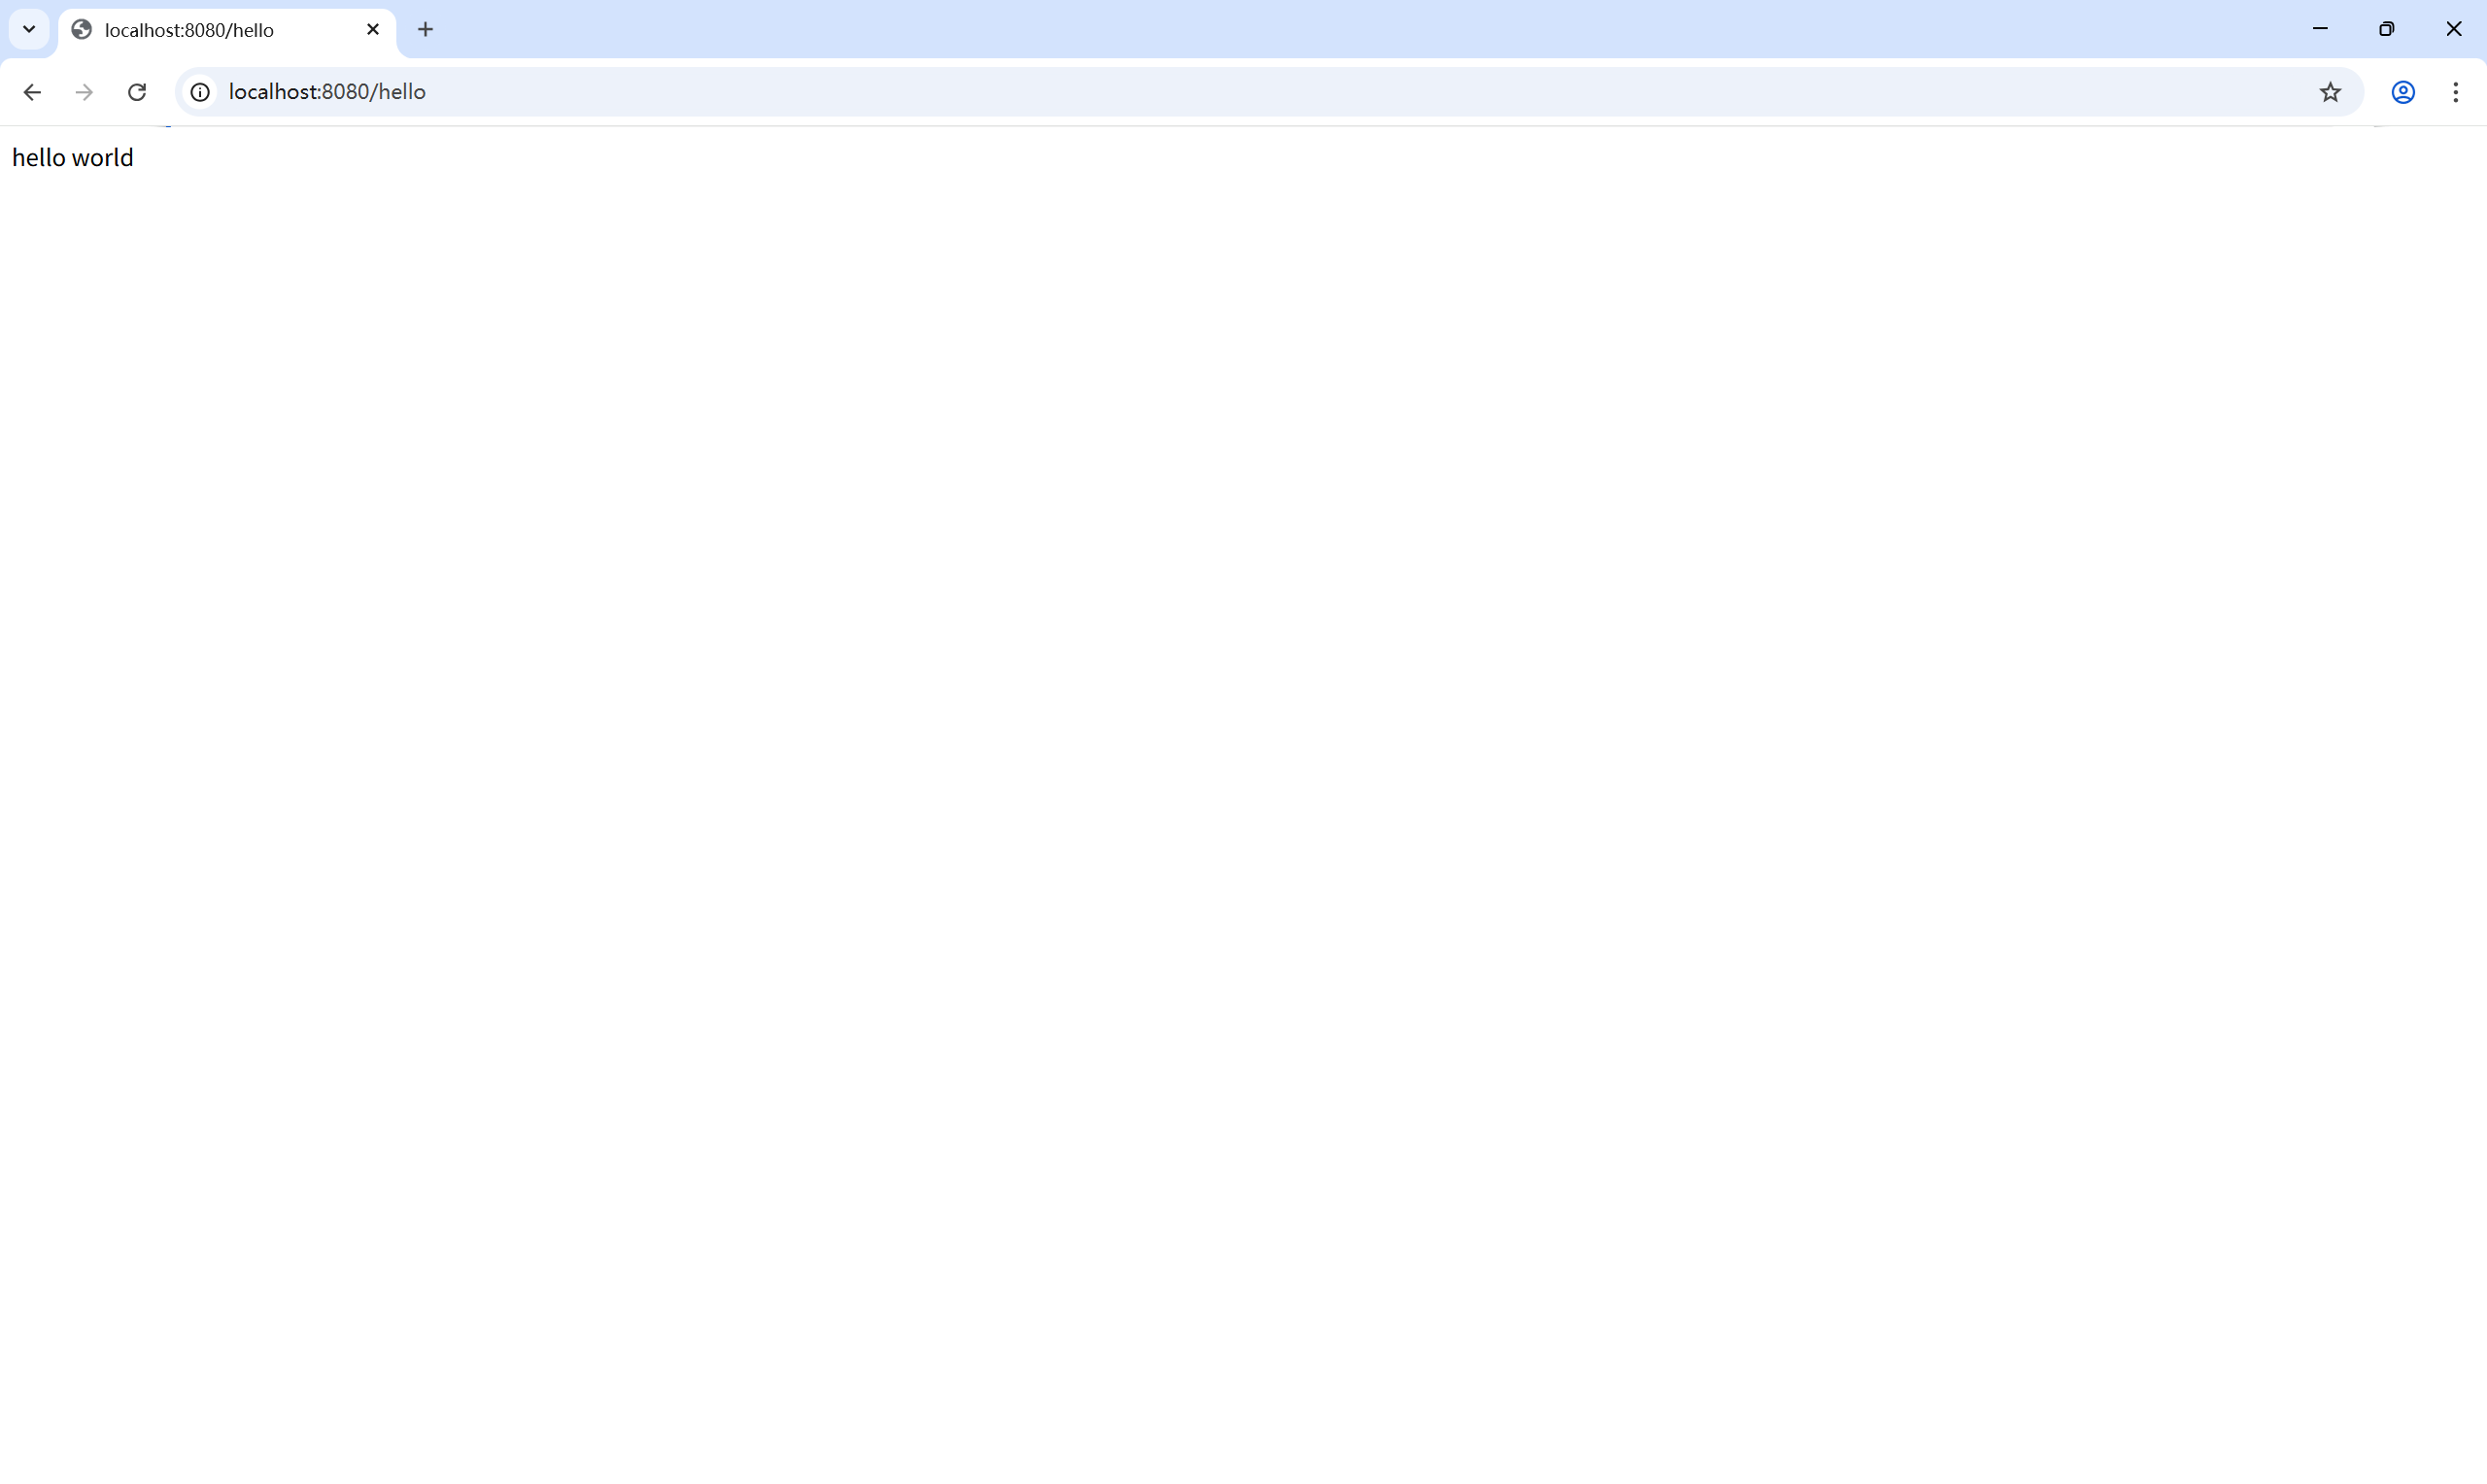
	// http://localhost:8080/hello
    @GetMapping("/hello")
    public String hello() {
        return "hello world";
    }
}
@RestController只返回给前端数据 ;@Controller返回给前端页面和数据 ;@GetMapping路由注解,只接受浏览器的Get请求
运行项目访问接口
配置项目热部署(可选)
配置pom.xml添加devtools依赖
<dependency>
	<groupId>org.springframework.boot</groupId>
	<artifactId>spring-boot-devtools</artifactId>
	<optional>true</optional>
</dependency>
配置application.properties
# 热部署生效
spring.devtools.restart.enabled=true
# 设置重启目录
spring.devtools.restart.additional-paths=src/main/java
# 设置classpath目录下的WEB-INF文件夹内容修改不重启
spring.devtools.restart.exclude=static/**
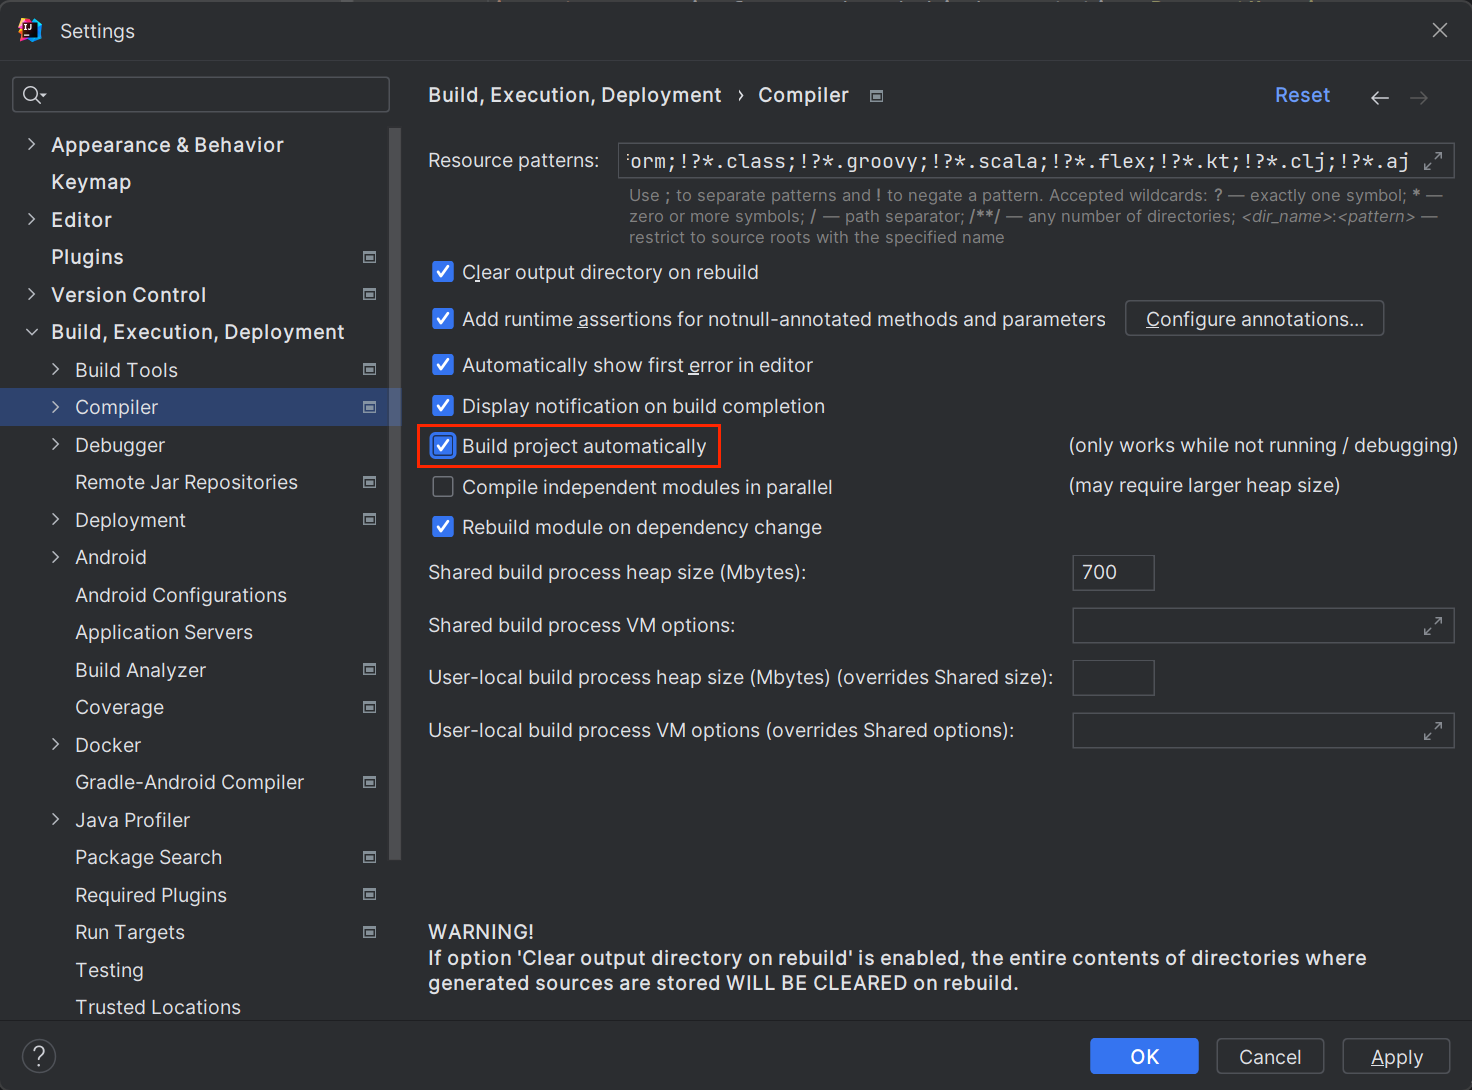
IDEA开启自动编译
Settings → Build, Execution, Deployment → Compiler → 勾选Build project automatically
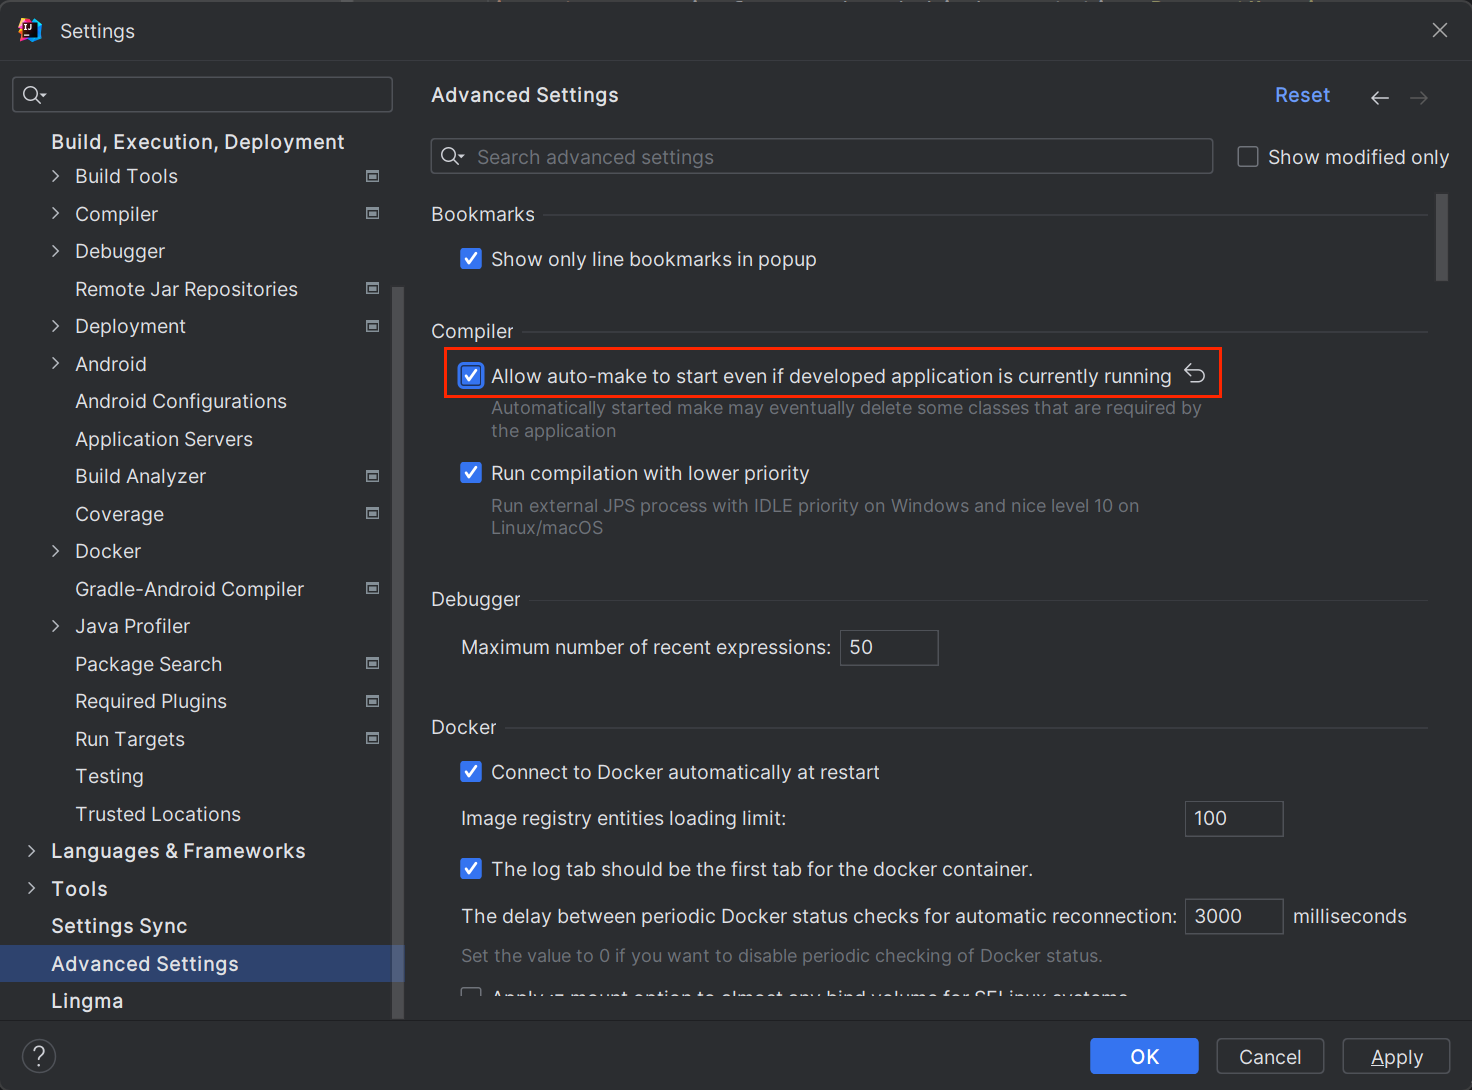
IDEA开启运行时自动构建
Settings → Advanced Settings → 勾选 Allow auto-make to start even if developed application is currently running
SpringBoot Controller
新建ParamsController
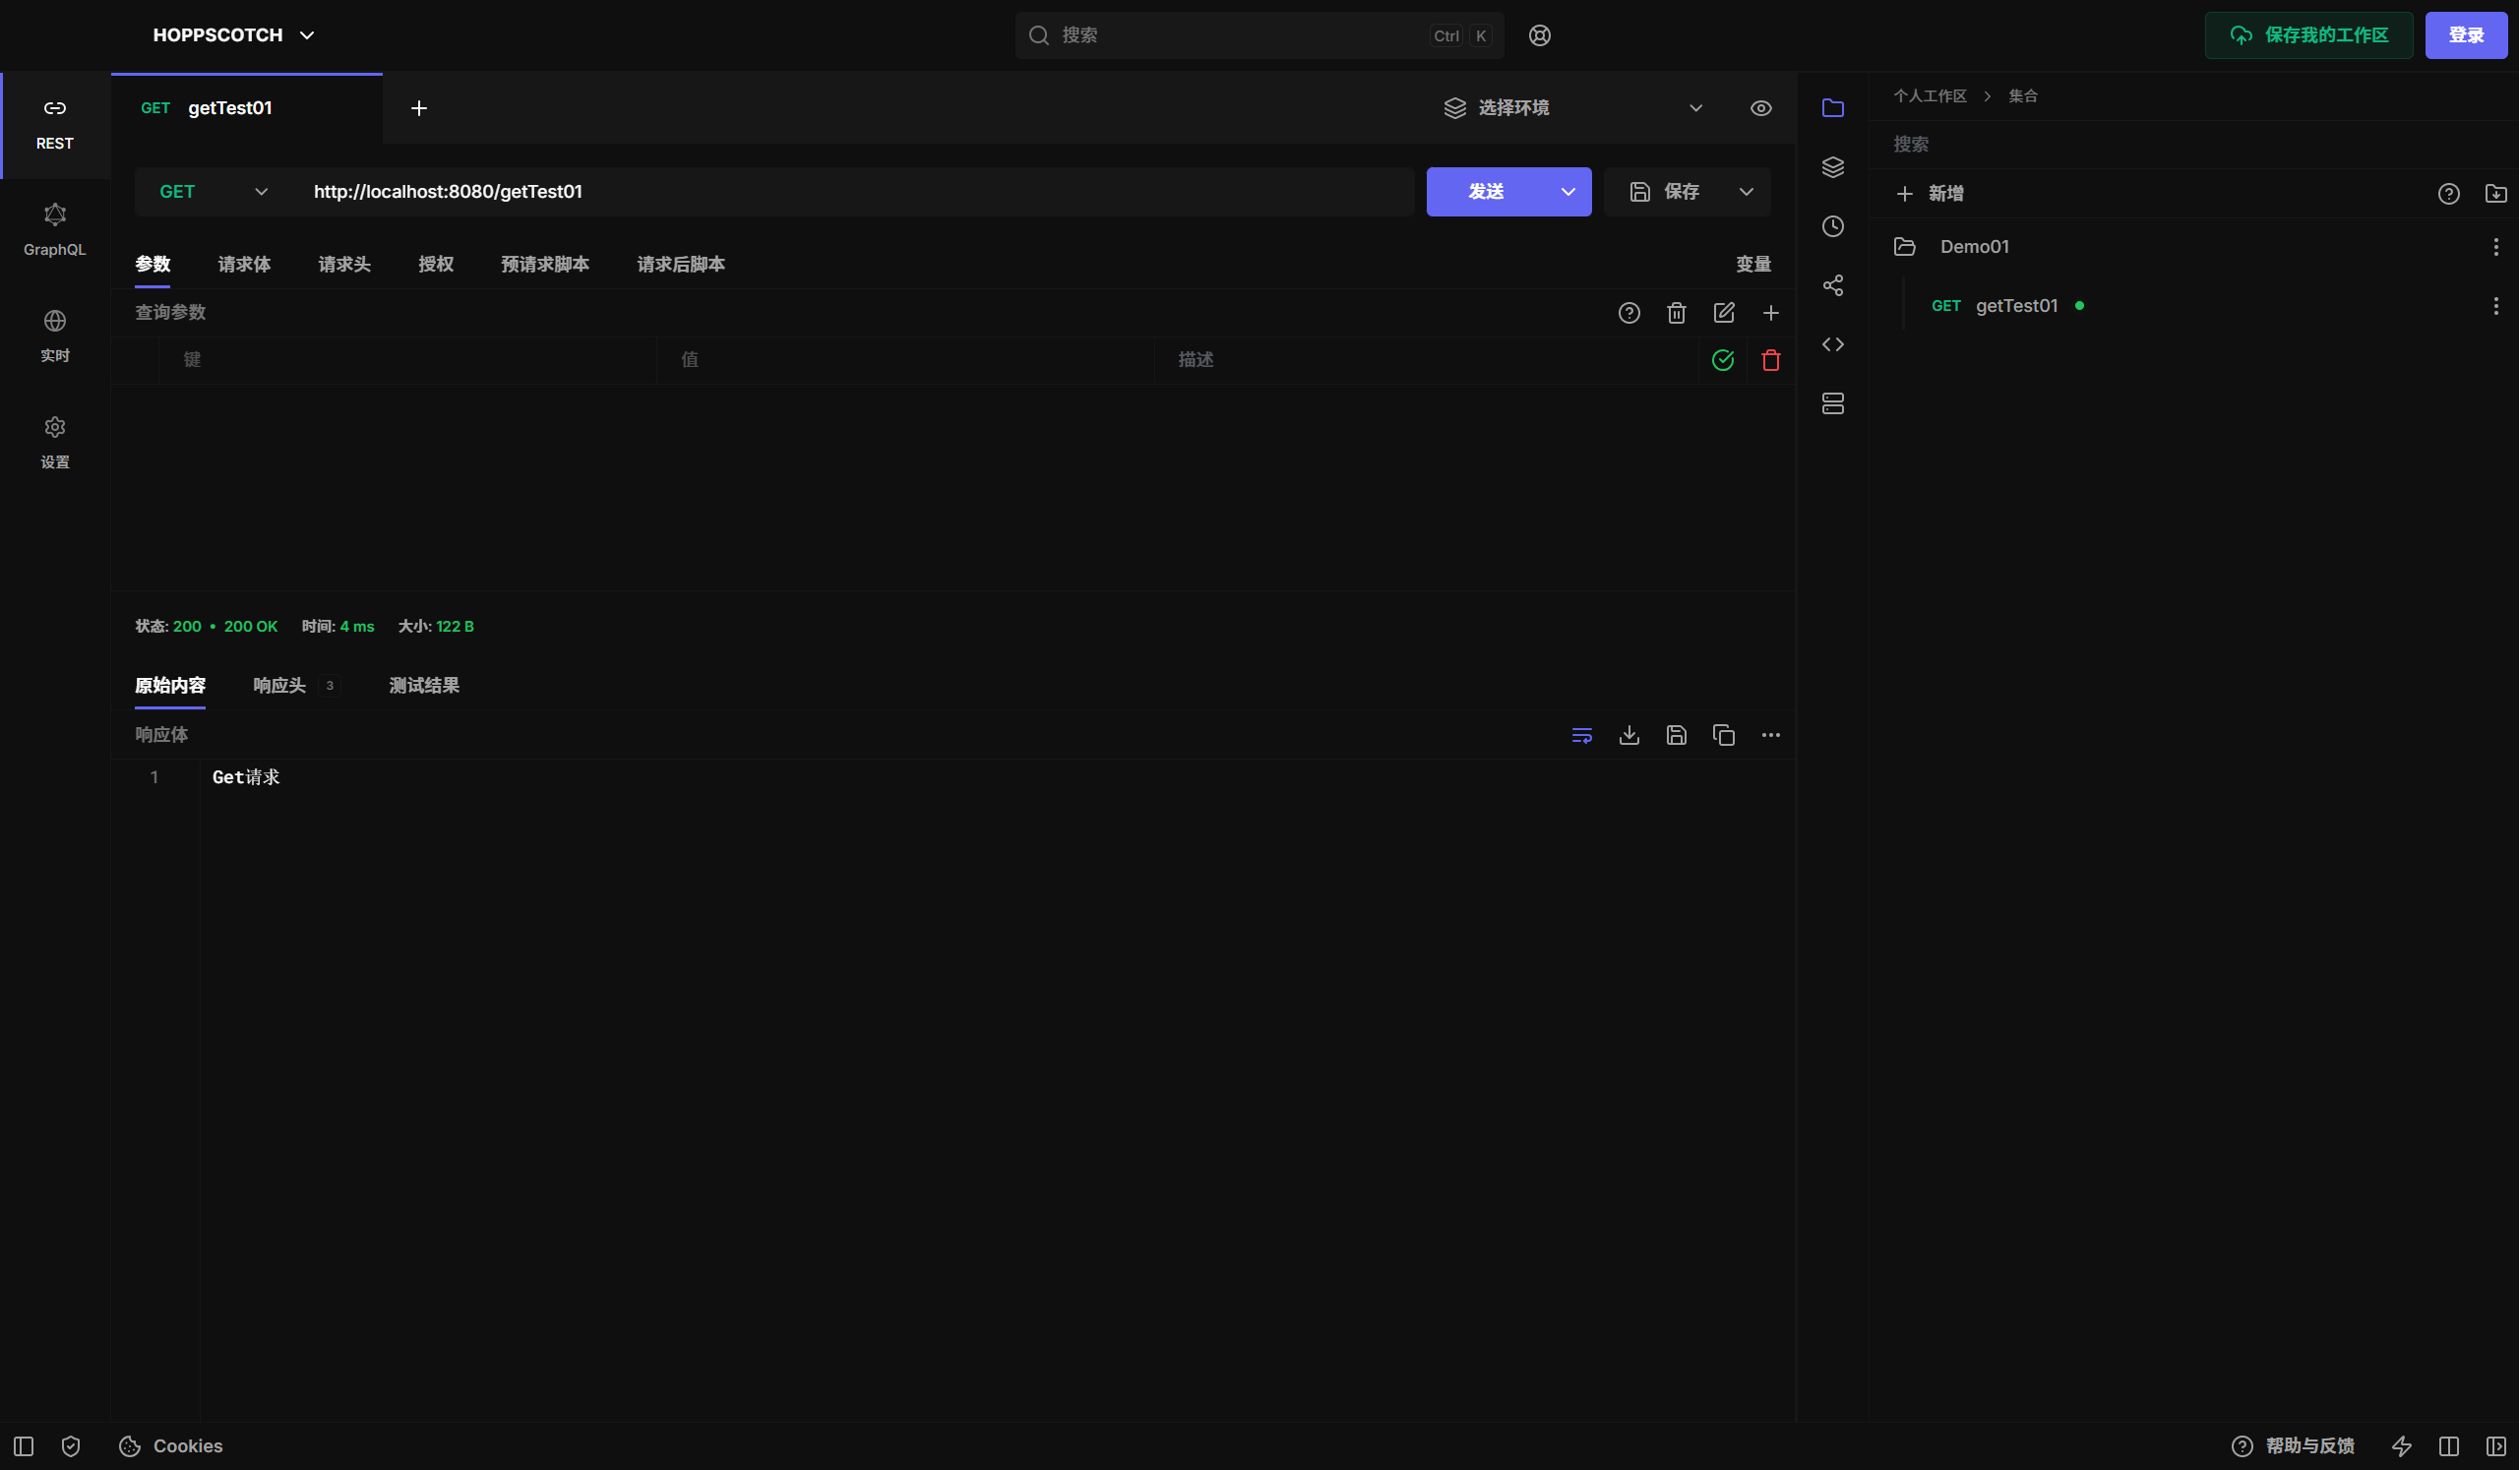
新建getTest01接口
package com.example.demo01.controller;

import org.springframework.web.bind.annotation.RequestMapping;
import org.springframework.web.bind.annotation.RequestMethod;
import org.springframework.web.bind.annotation.RestController;

@RestController
public class ParamsController {

    @RequestMapping(value = "/getTest01",method = RequestMethod.GET)
    public String getTest01() {
        return "Get请求";
    }

}
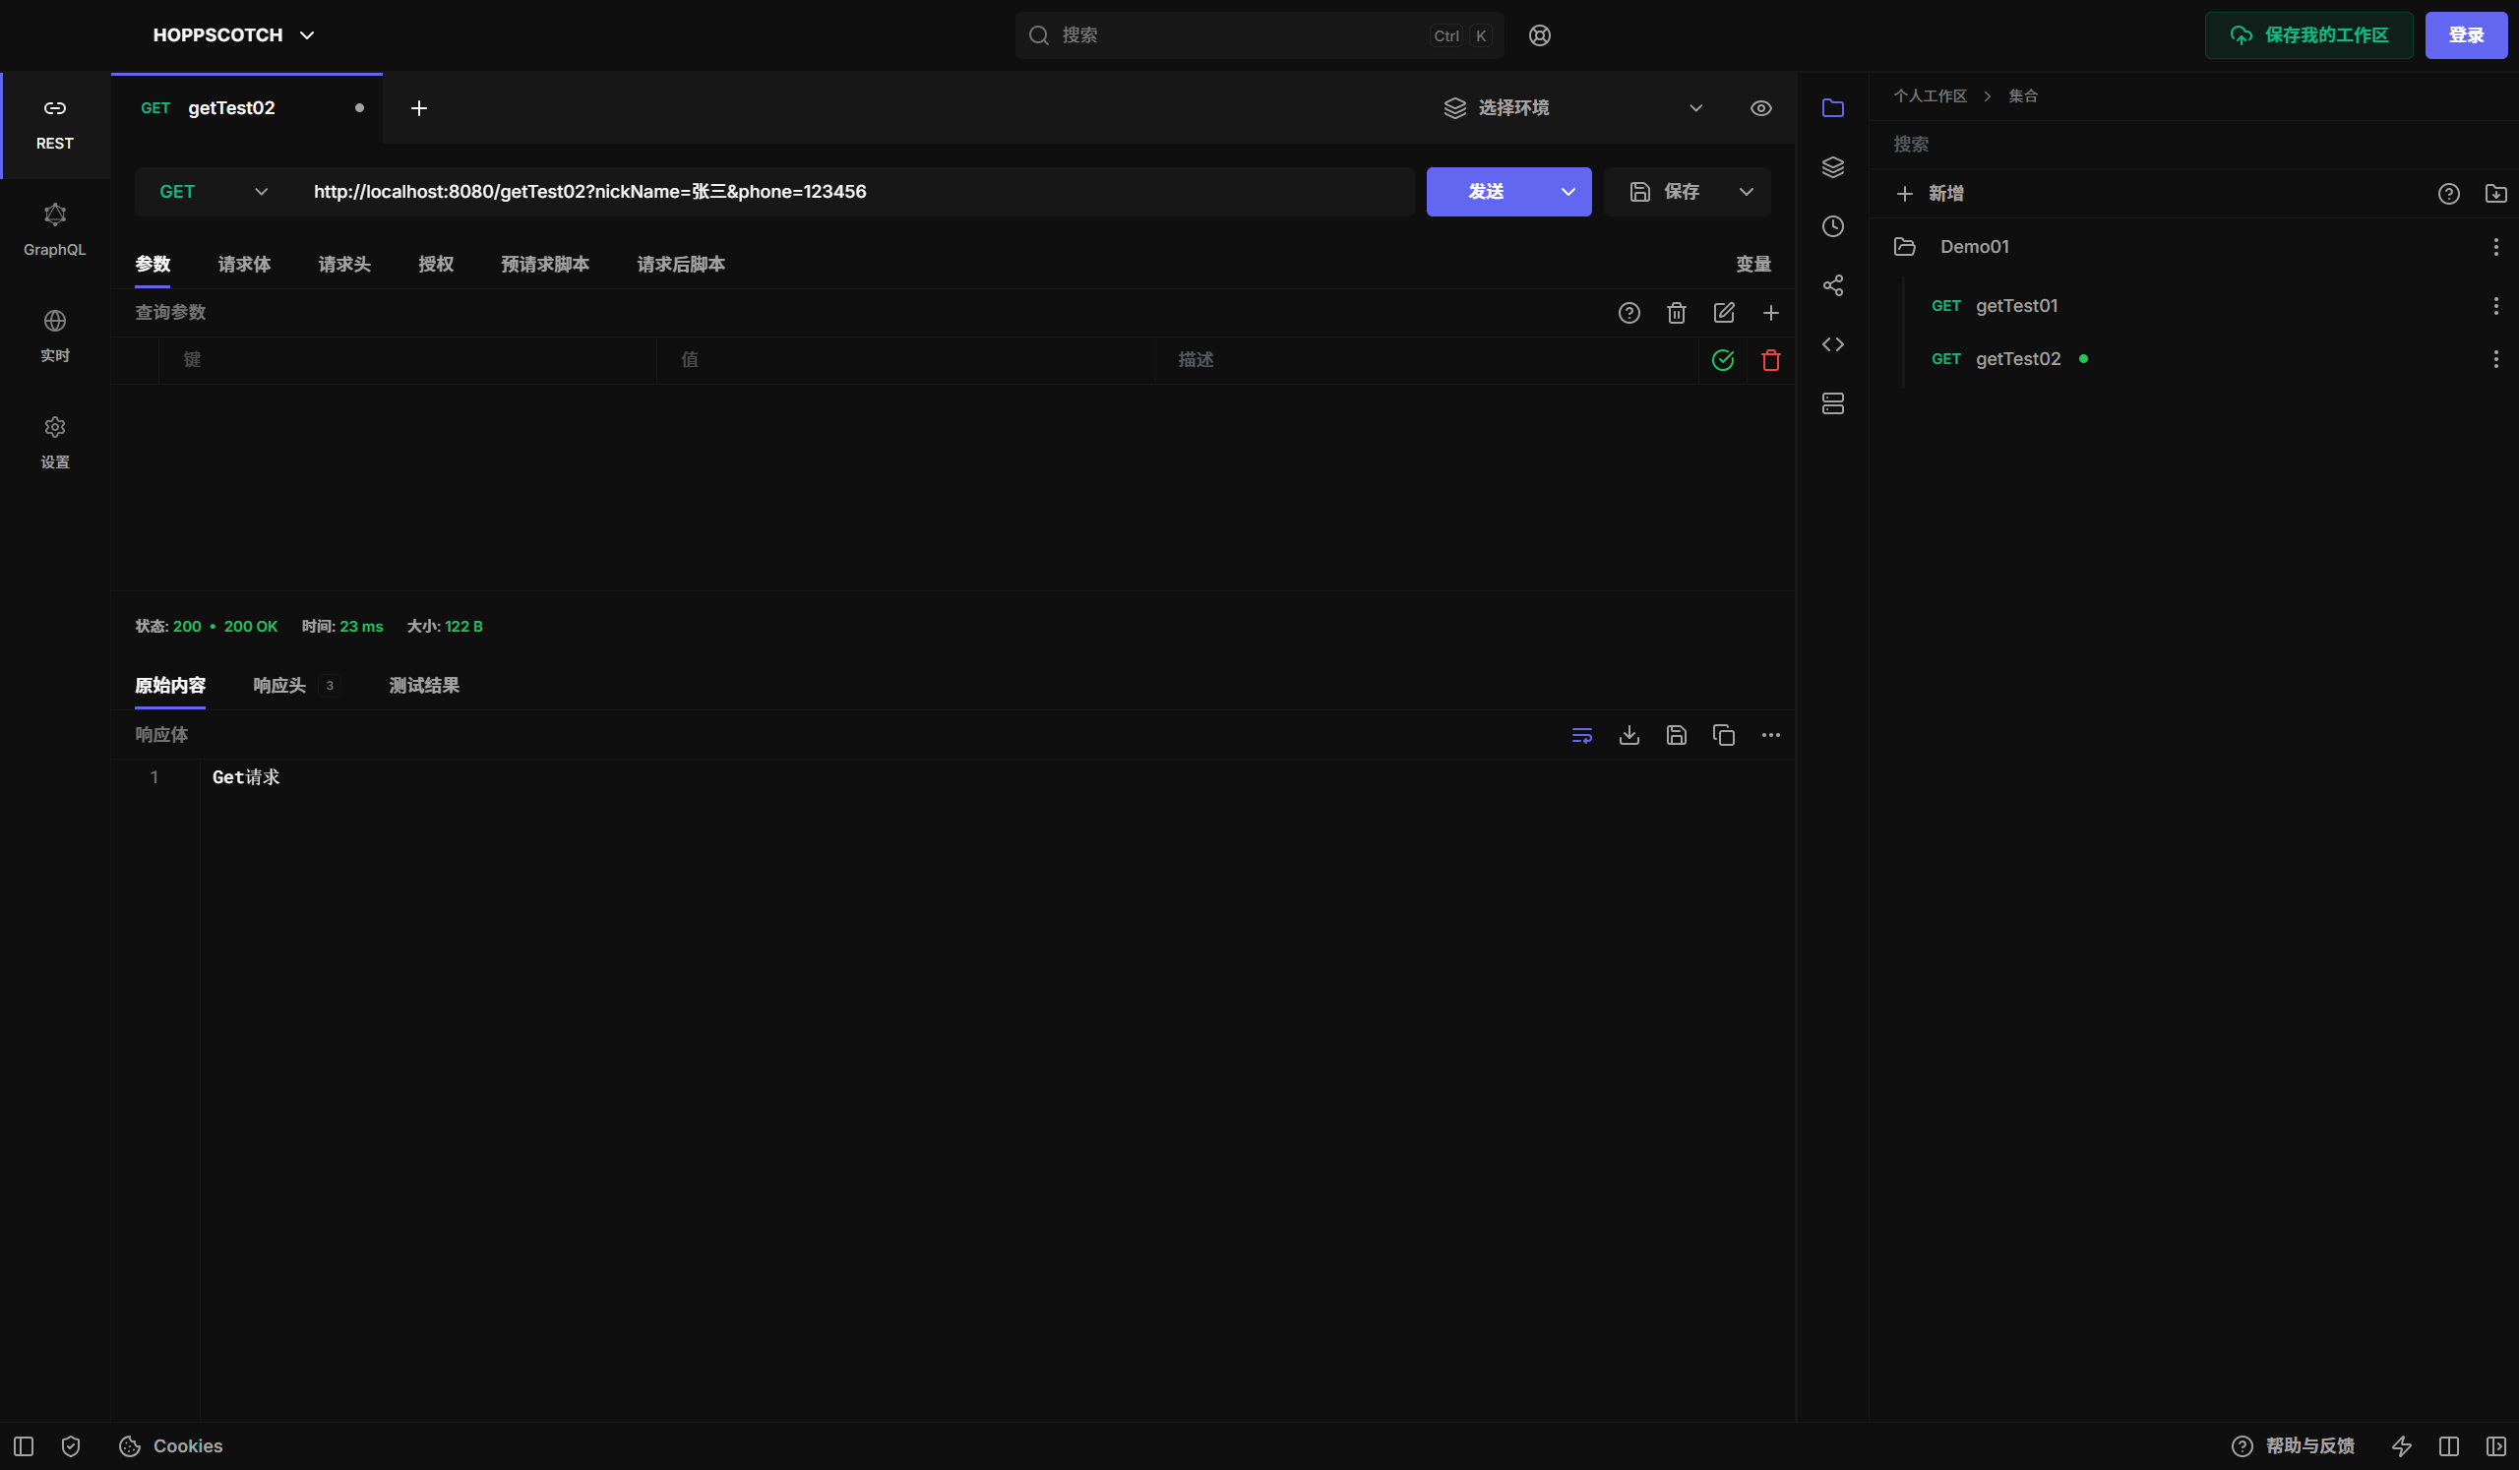
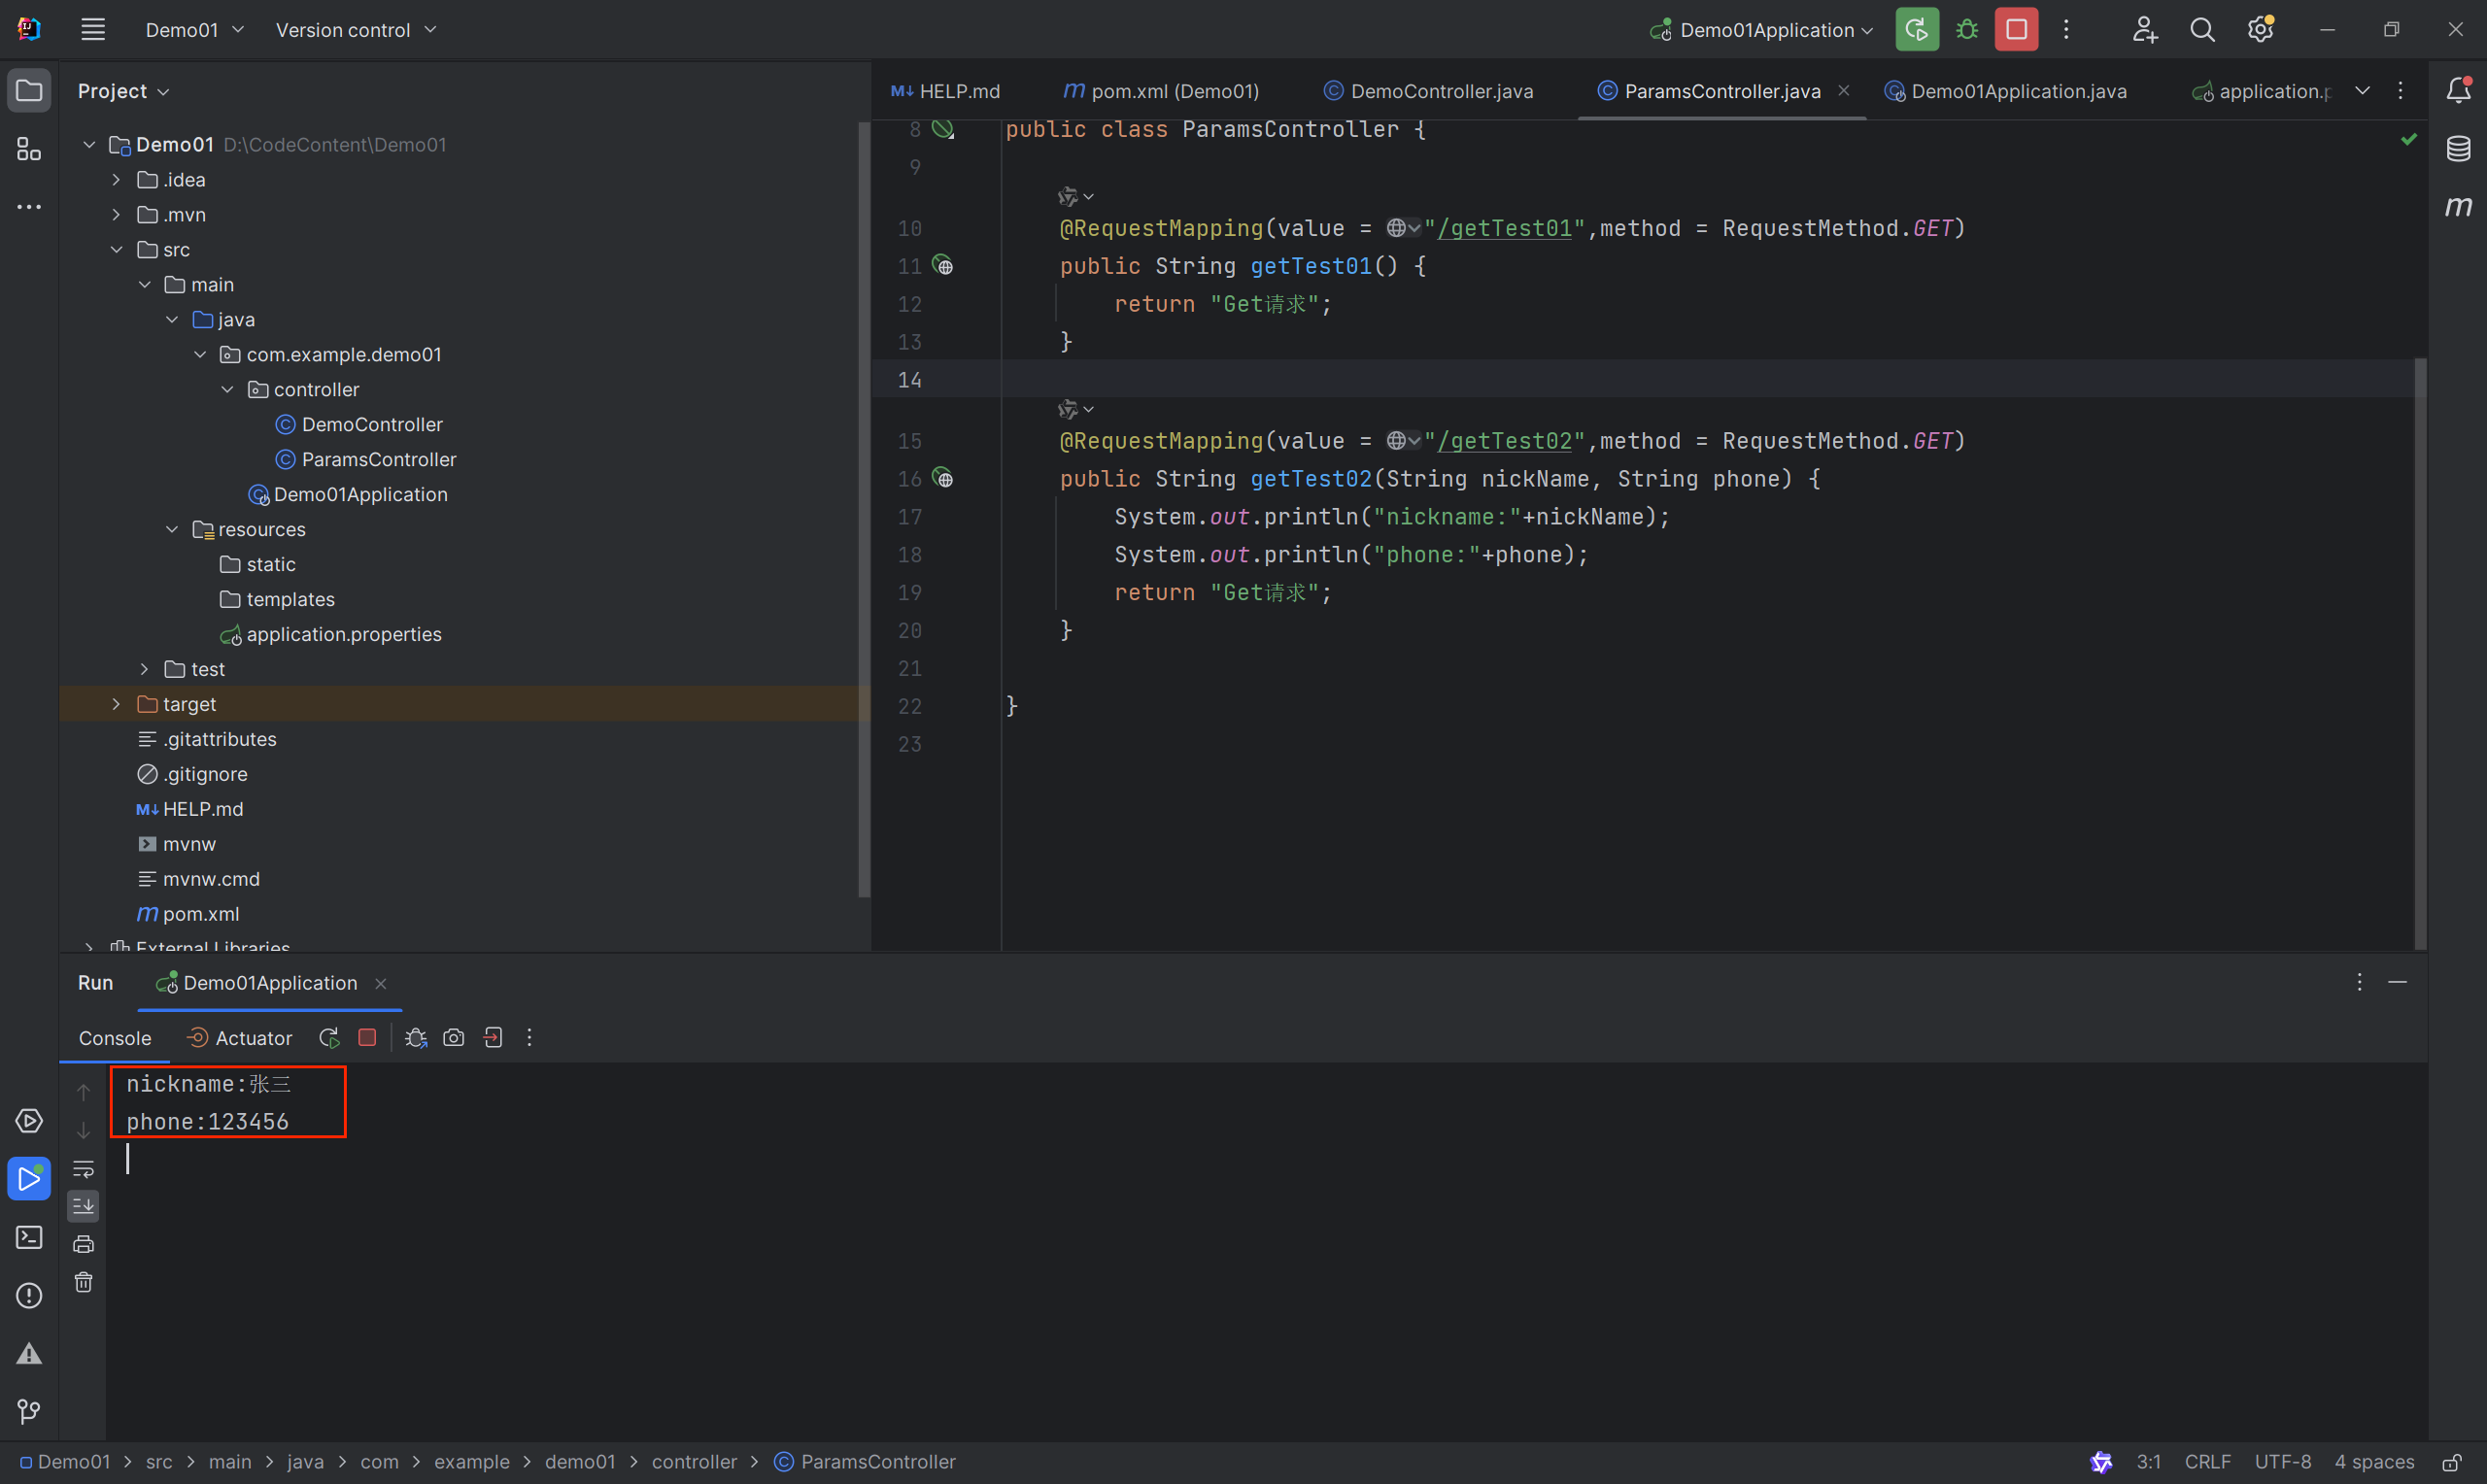
新建getTest02接口
    @RequestMapping(value = "/getTest02",method = RequestMethod.GET)
    public String getTest02(String nickName, String phone) {
        System.out.println("nickname:"+nickName);
        System.out.println("phone:"+phone);
        return "Get请求";
    }
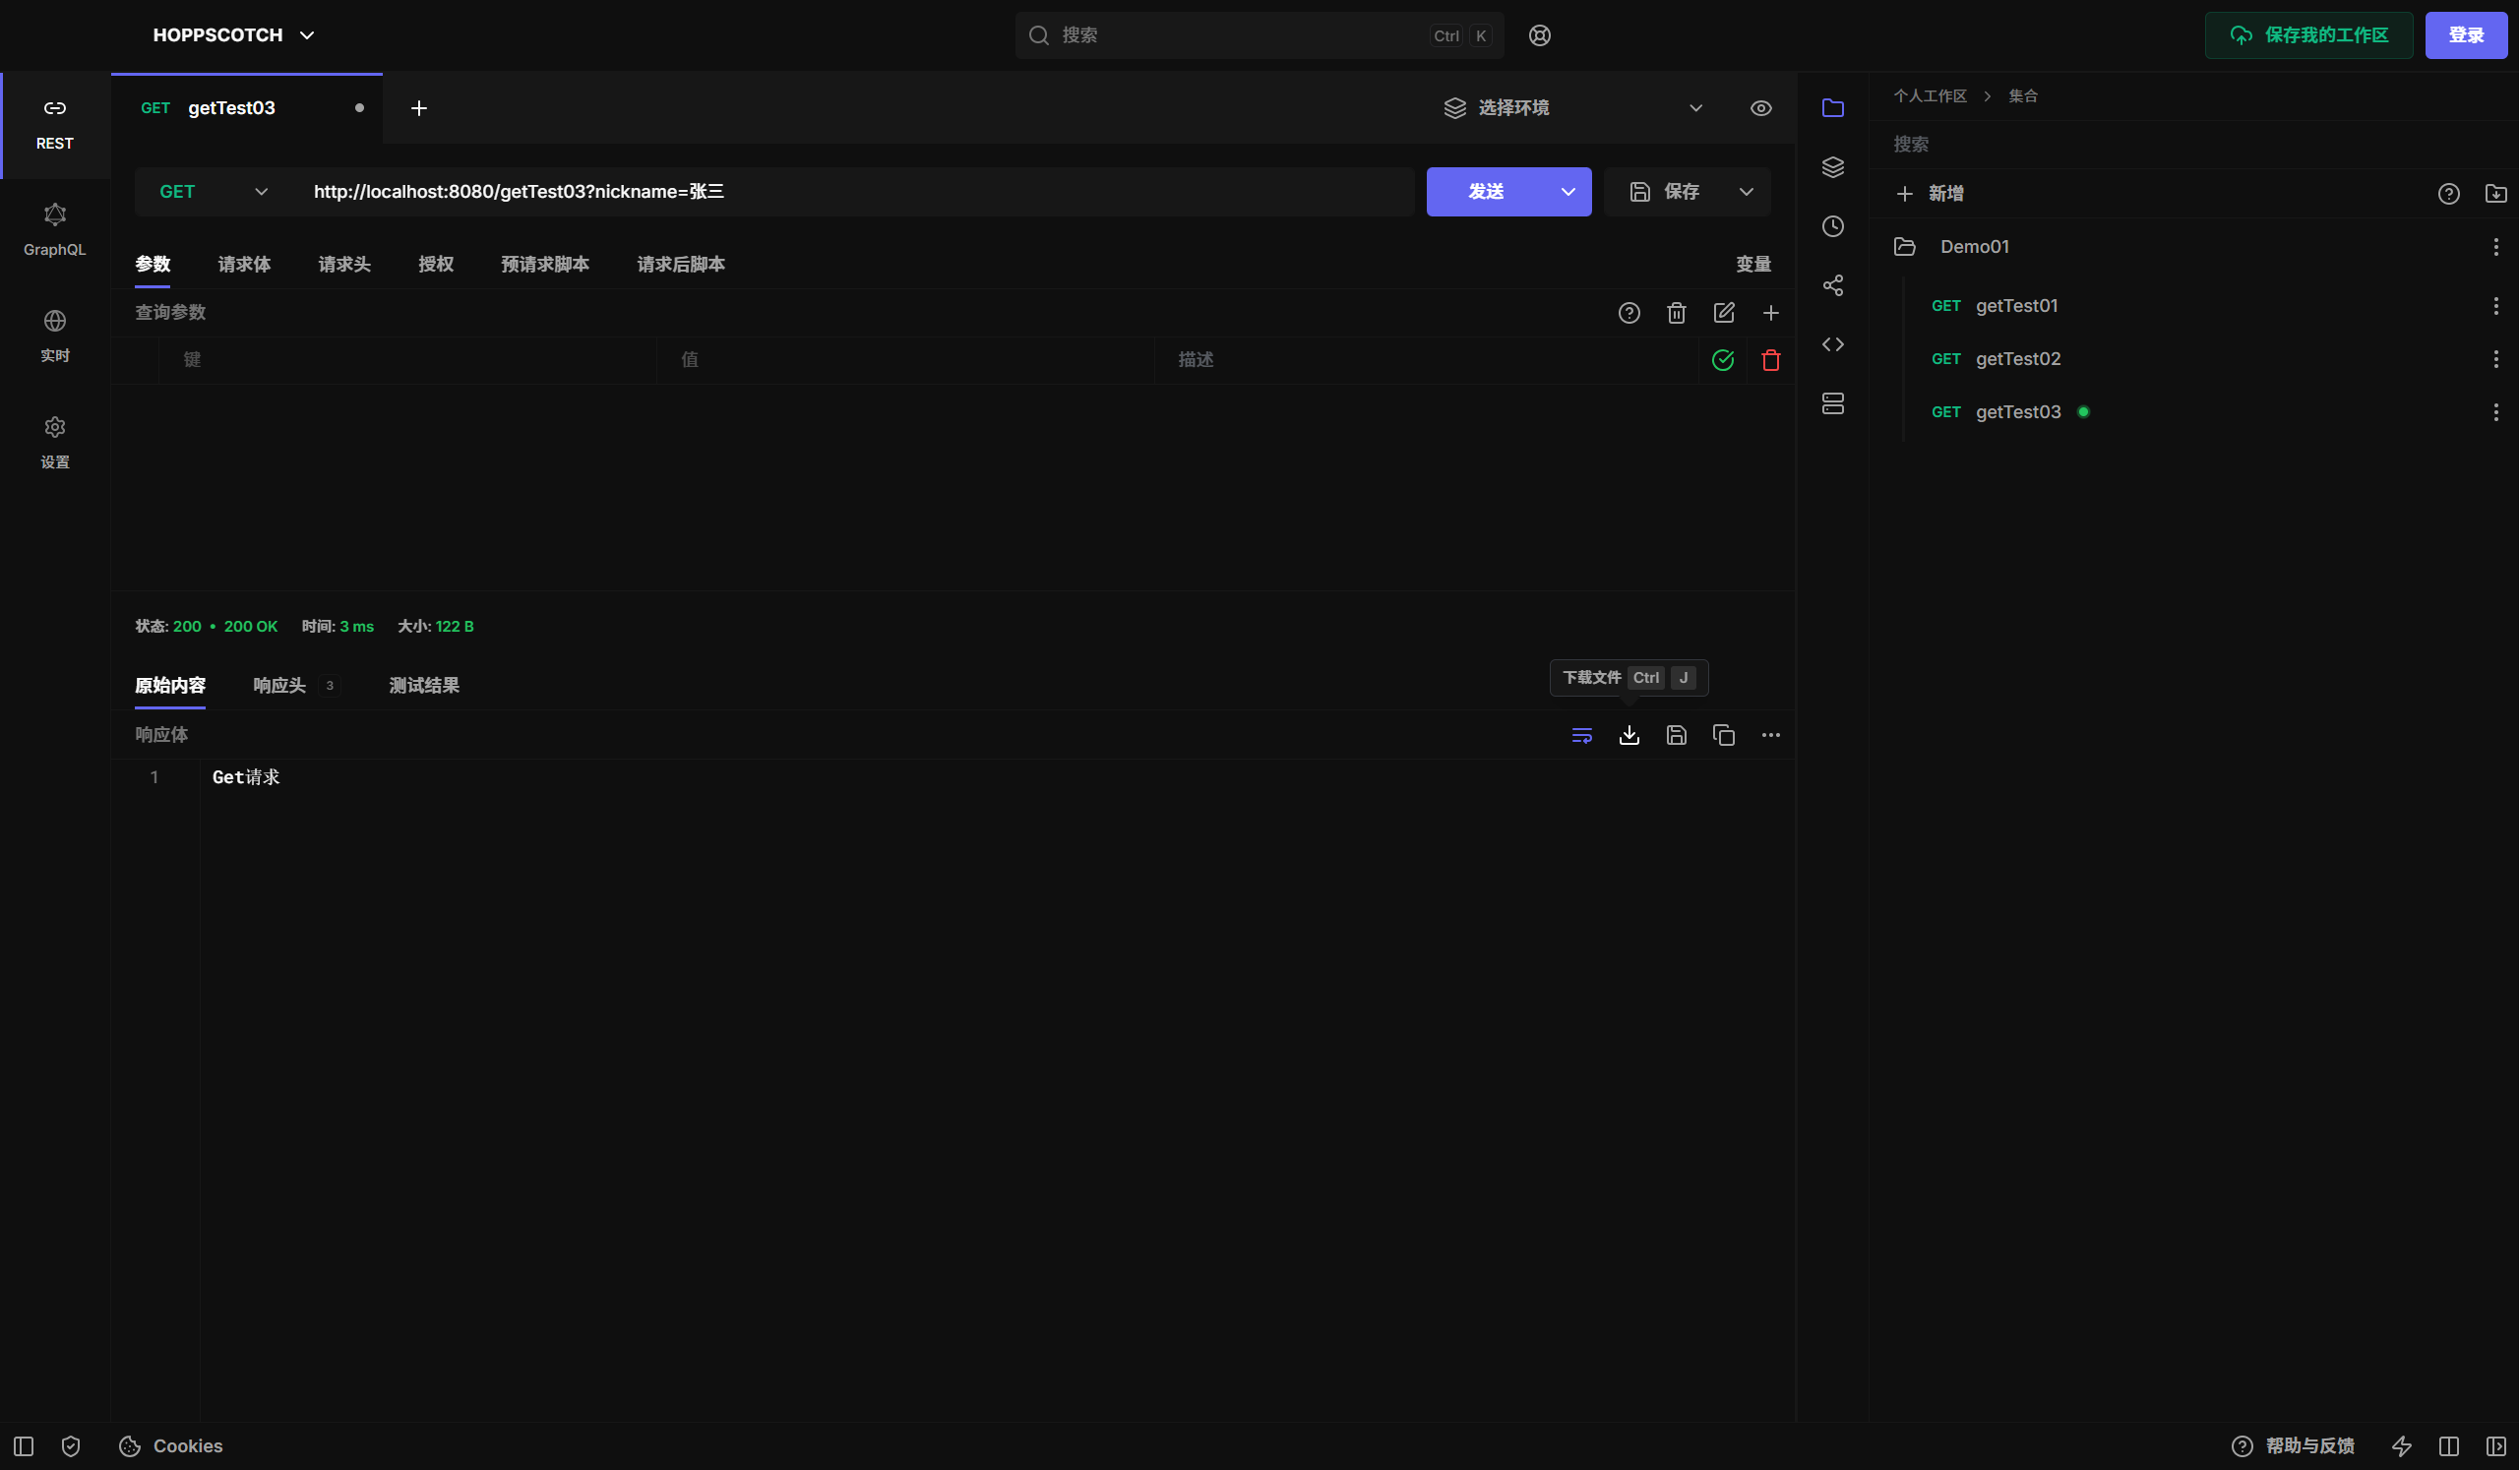
新建getTest03接口
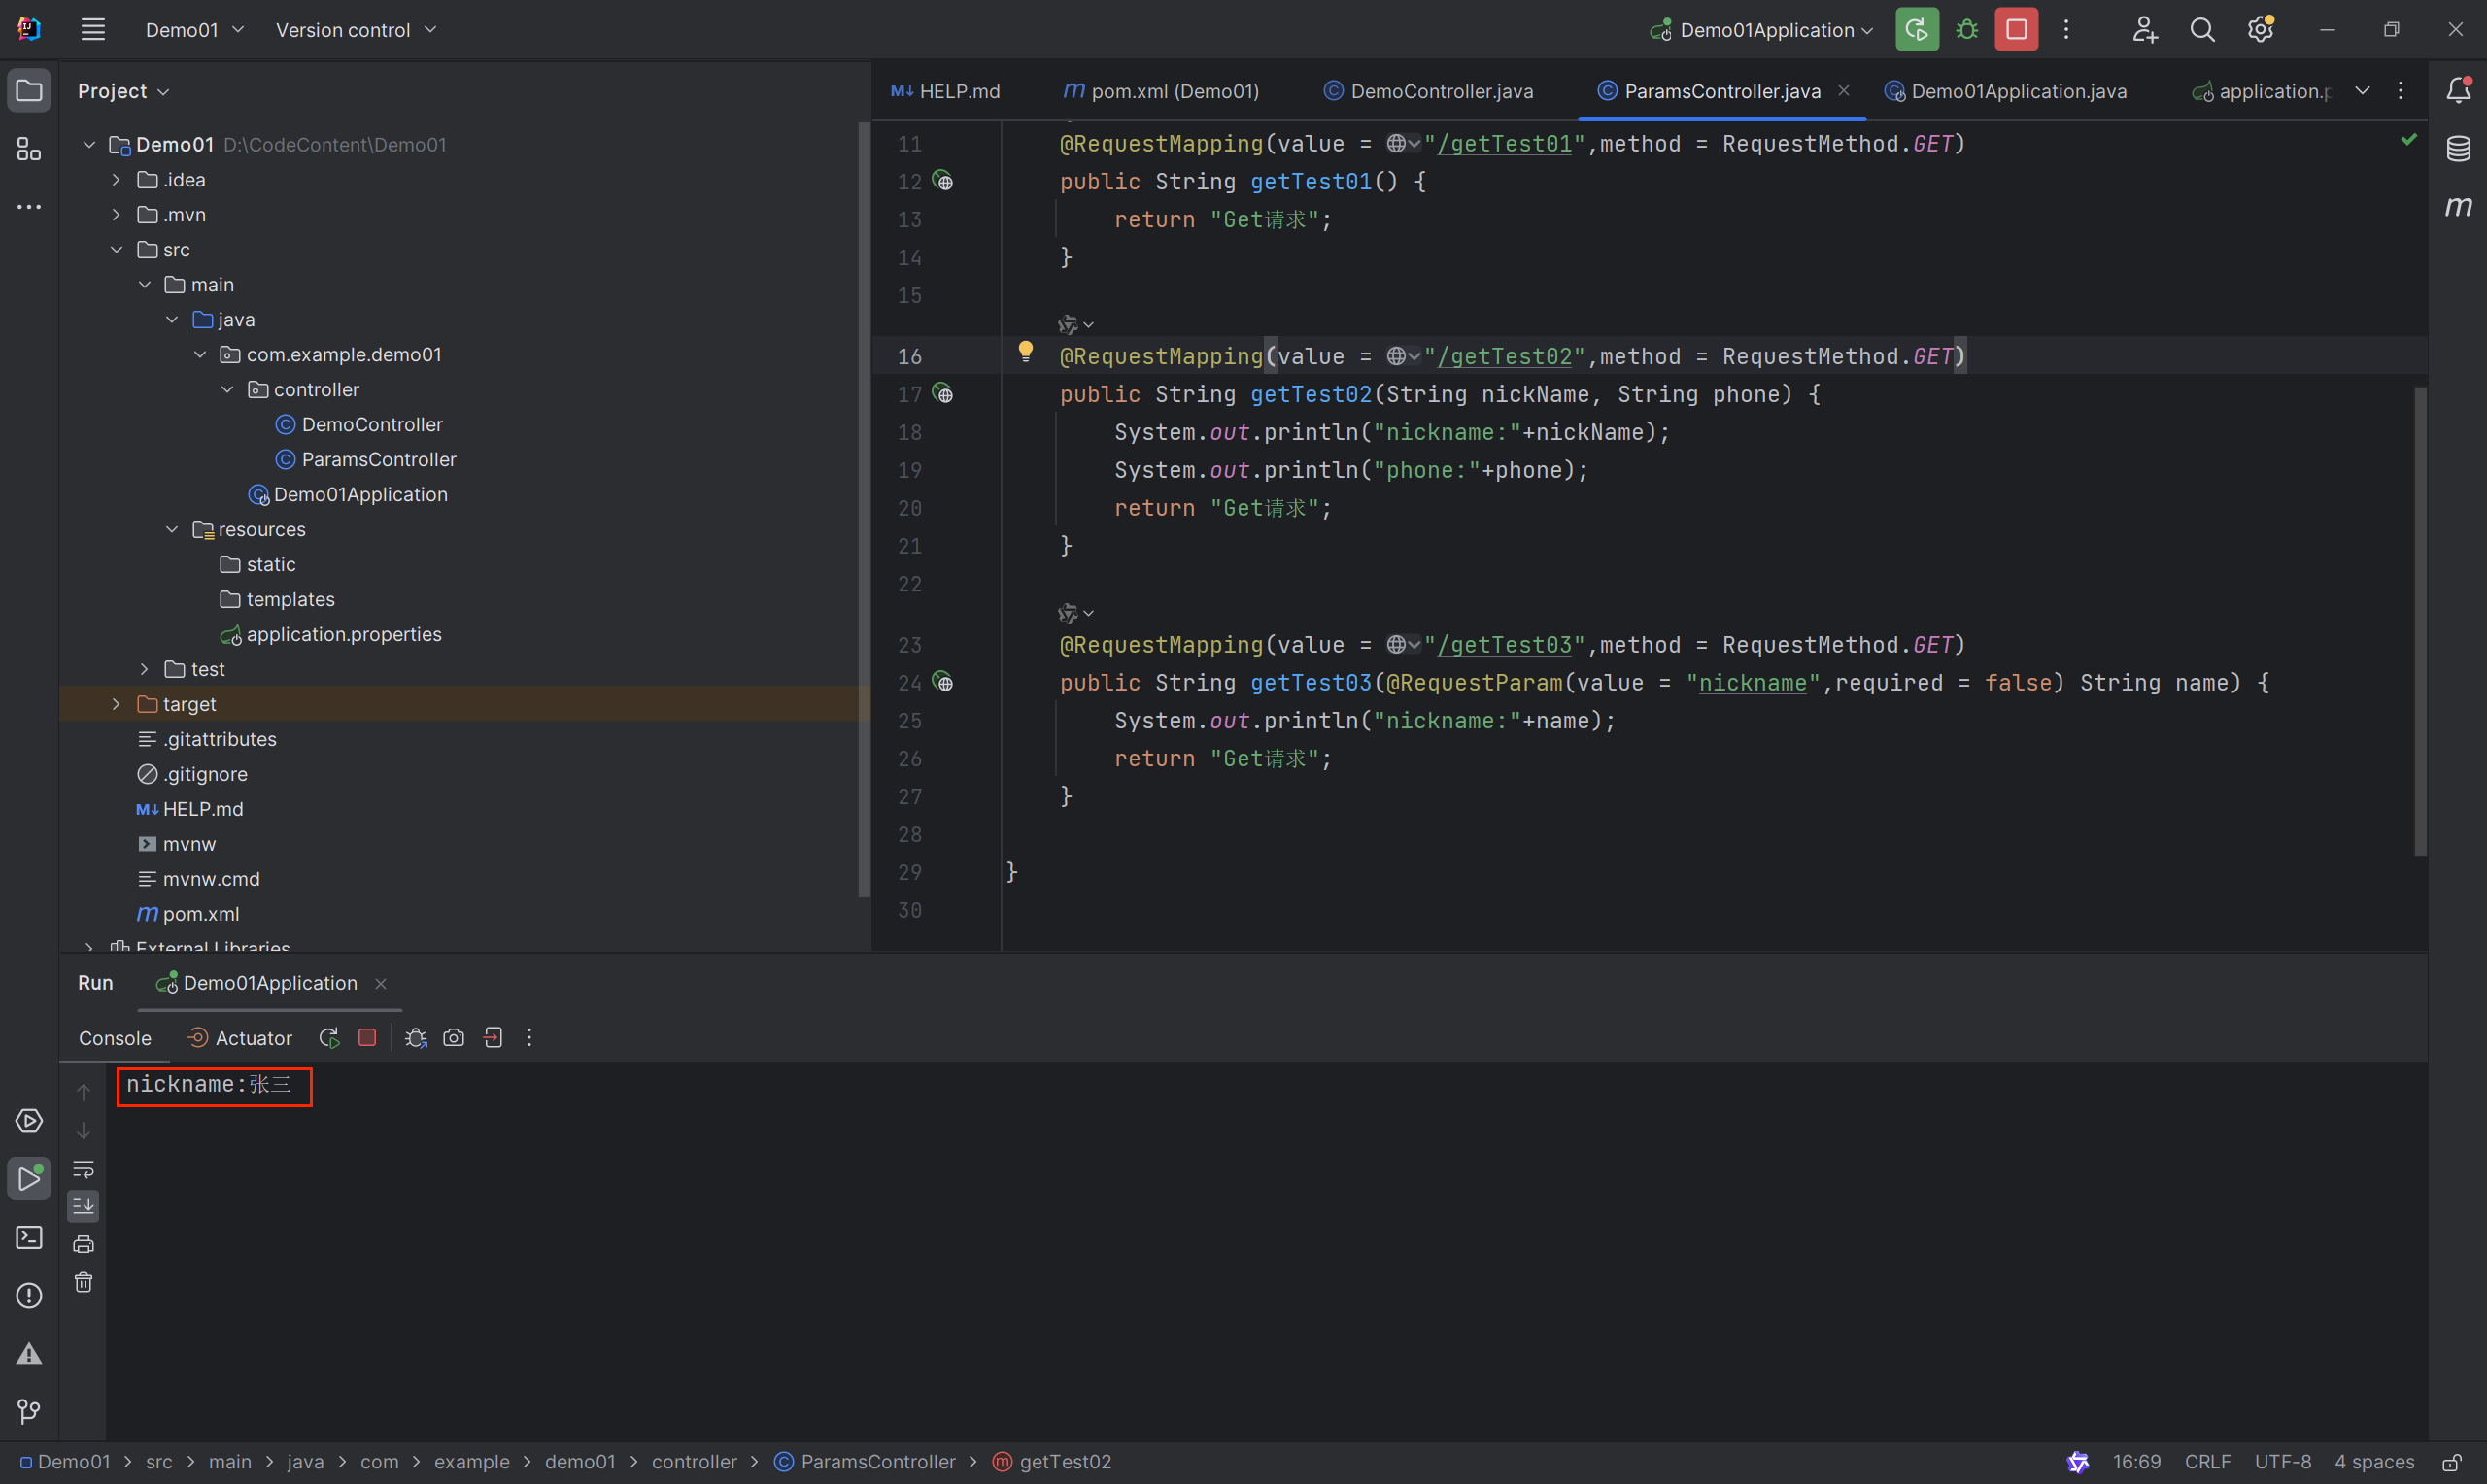
@RequestParam参数名映射;required = false无需一定要传参
    @RequestMapping(value = "/getTest03",method = RequestMethod.GET)
    public String getTest03(@RequestParam(value = "nickname",required = false) String name) {
        System.out.println("nickname:"+name);
        return "Get请求";
    }
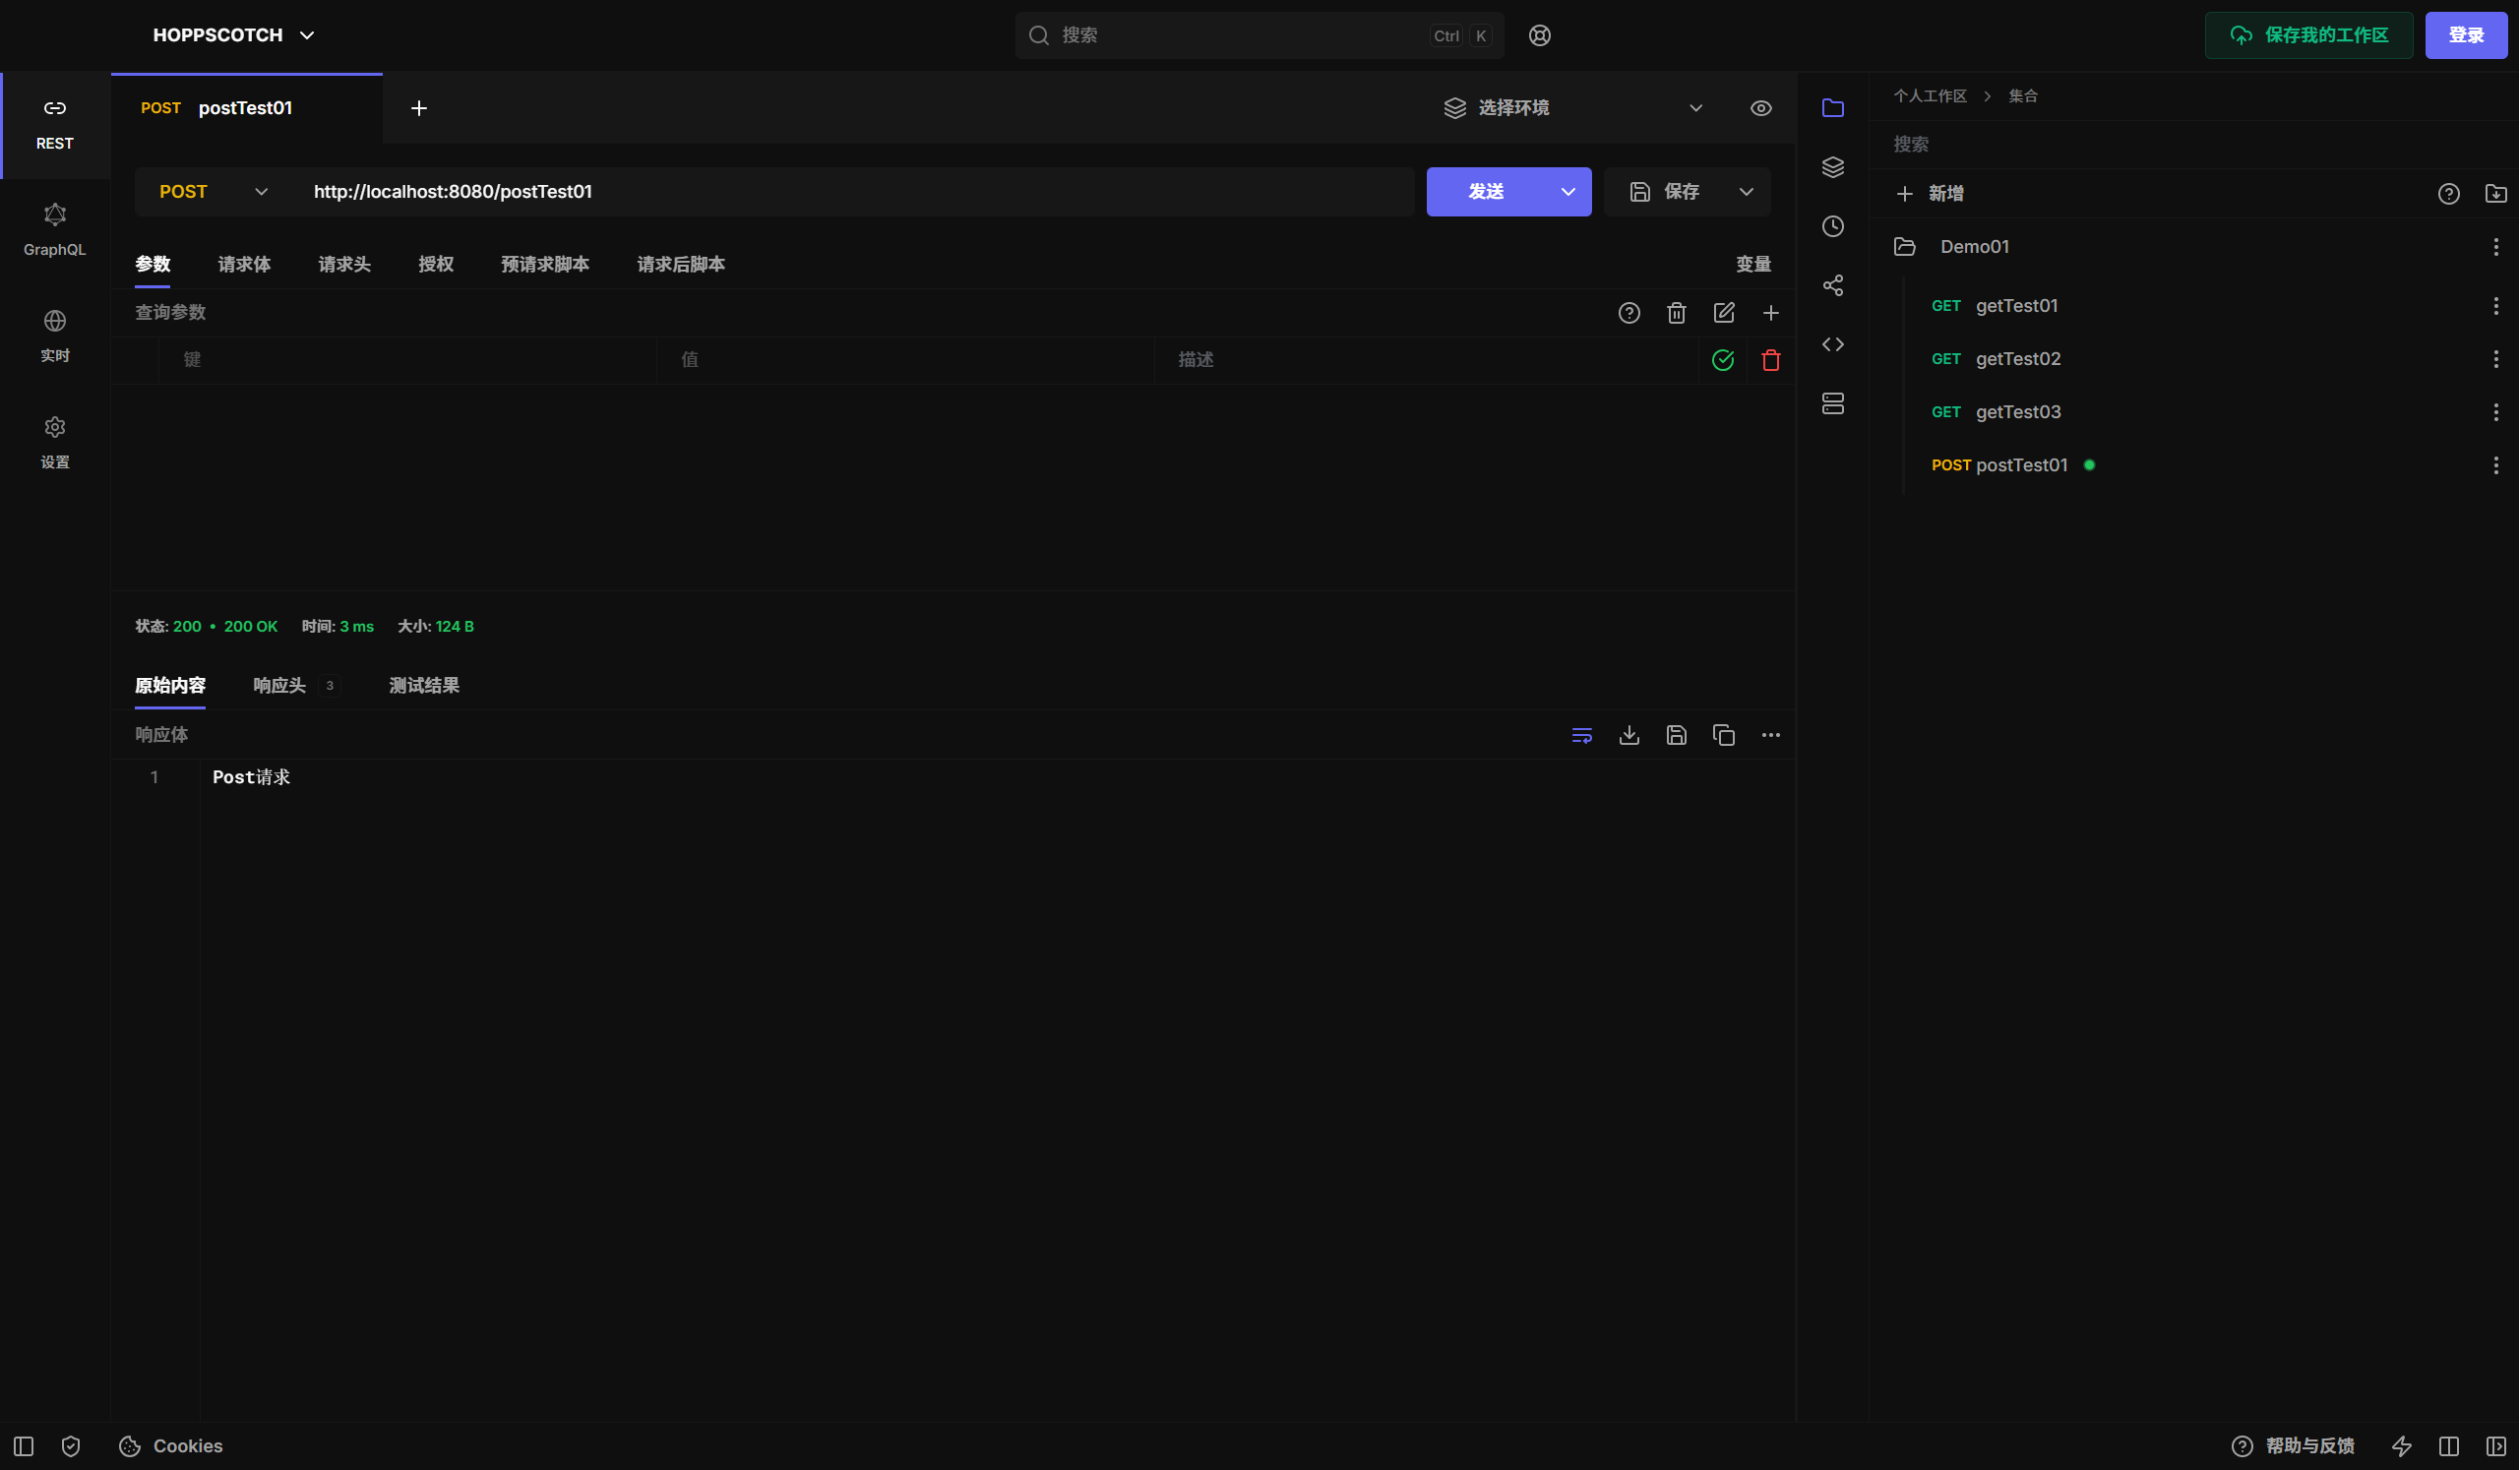
新建postTest01接口
    @RequestMapping(value = "/postTest01",method = RequestMethod.POST)
    public String postTest01 () {
        return "Post请求";
    }
新建postTest02接口
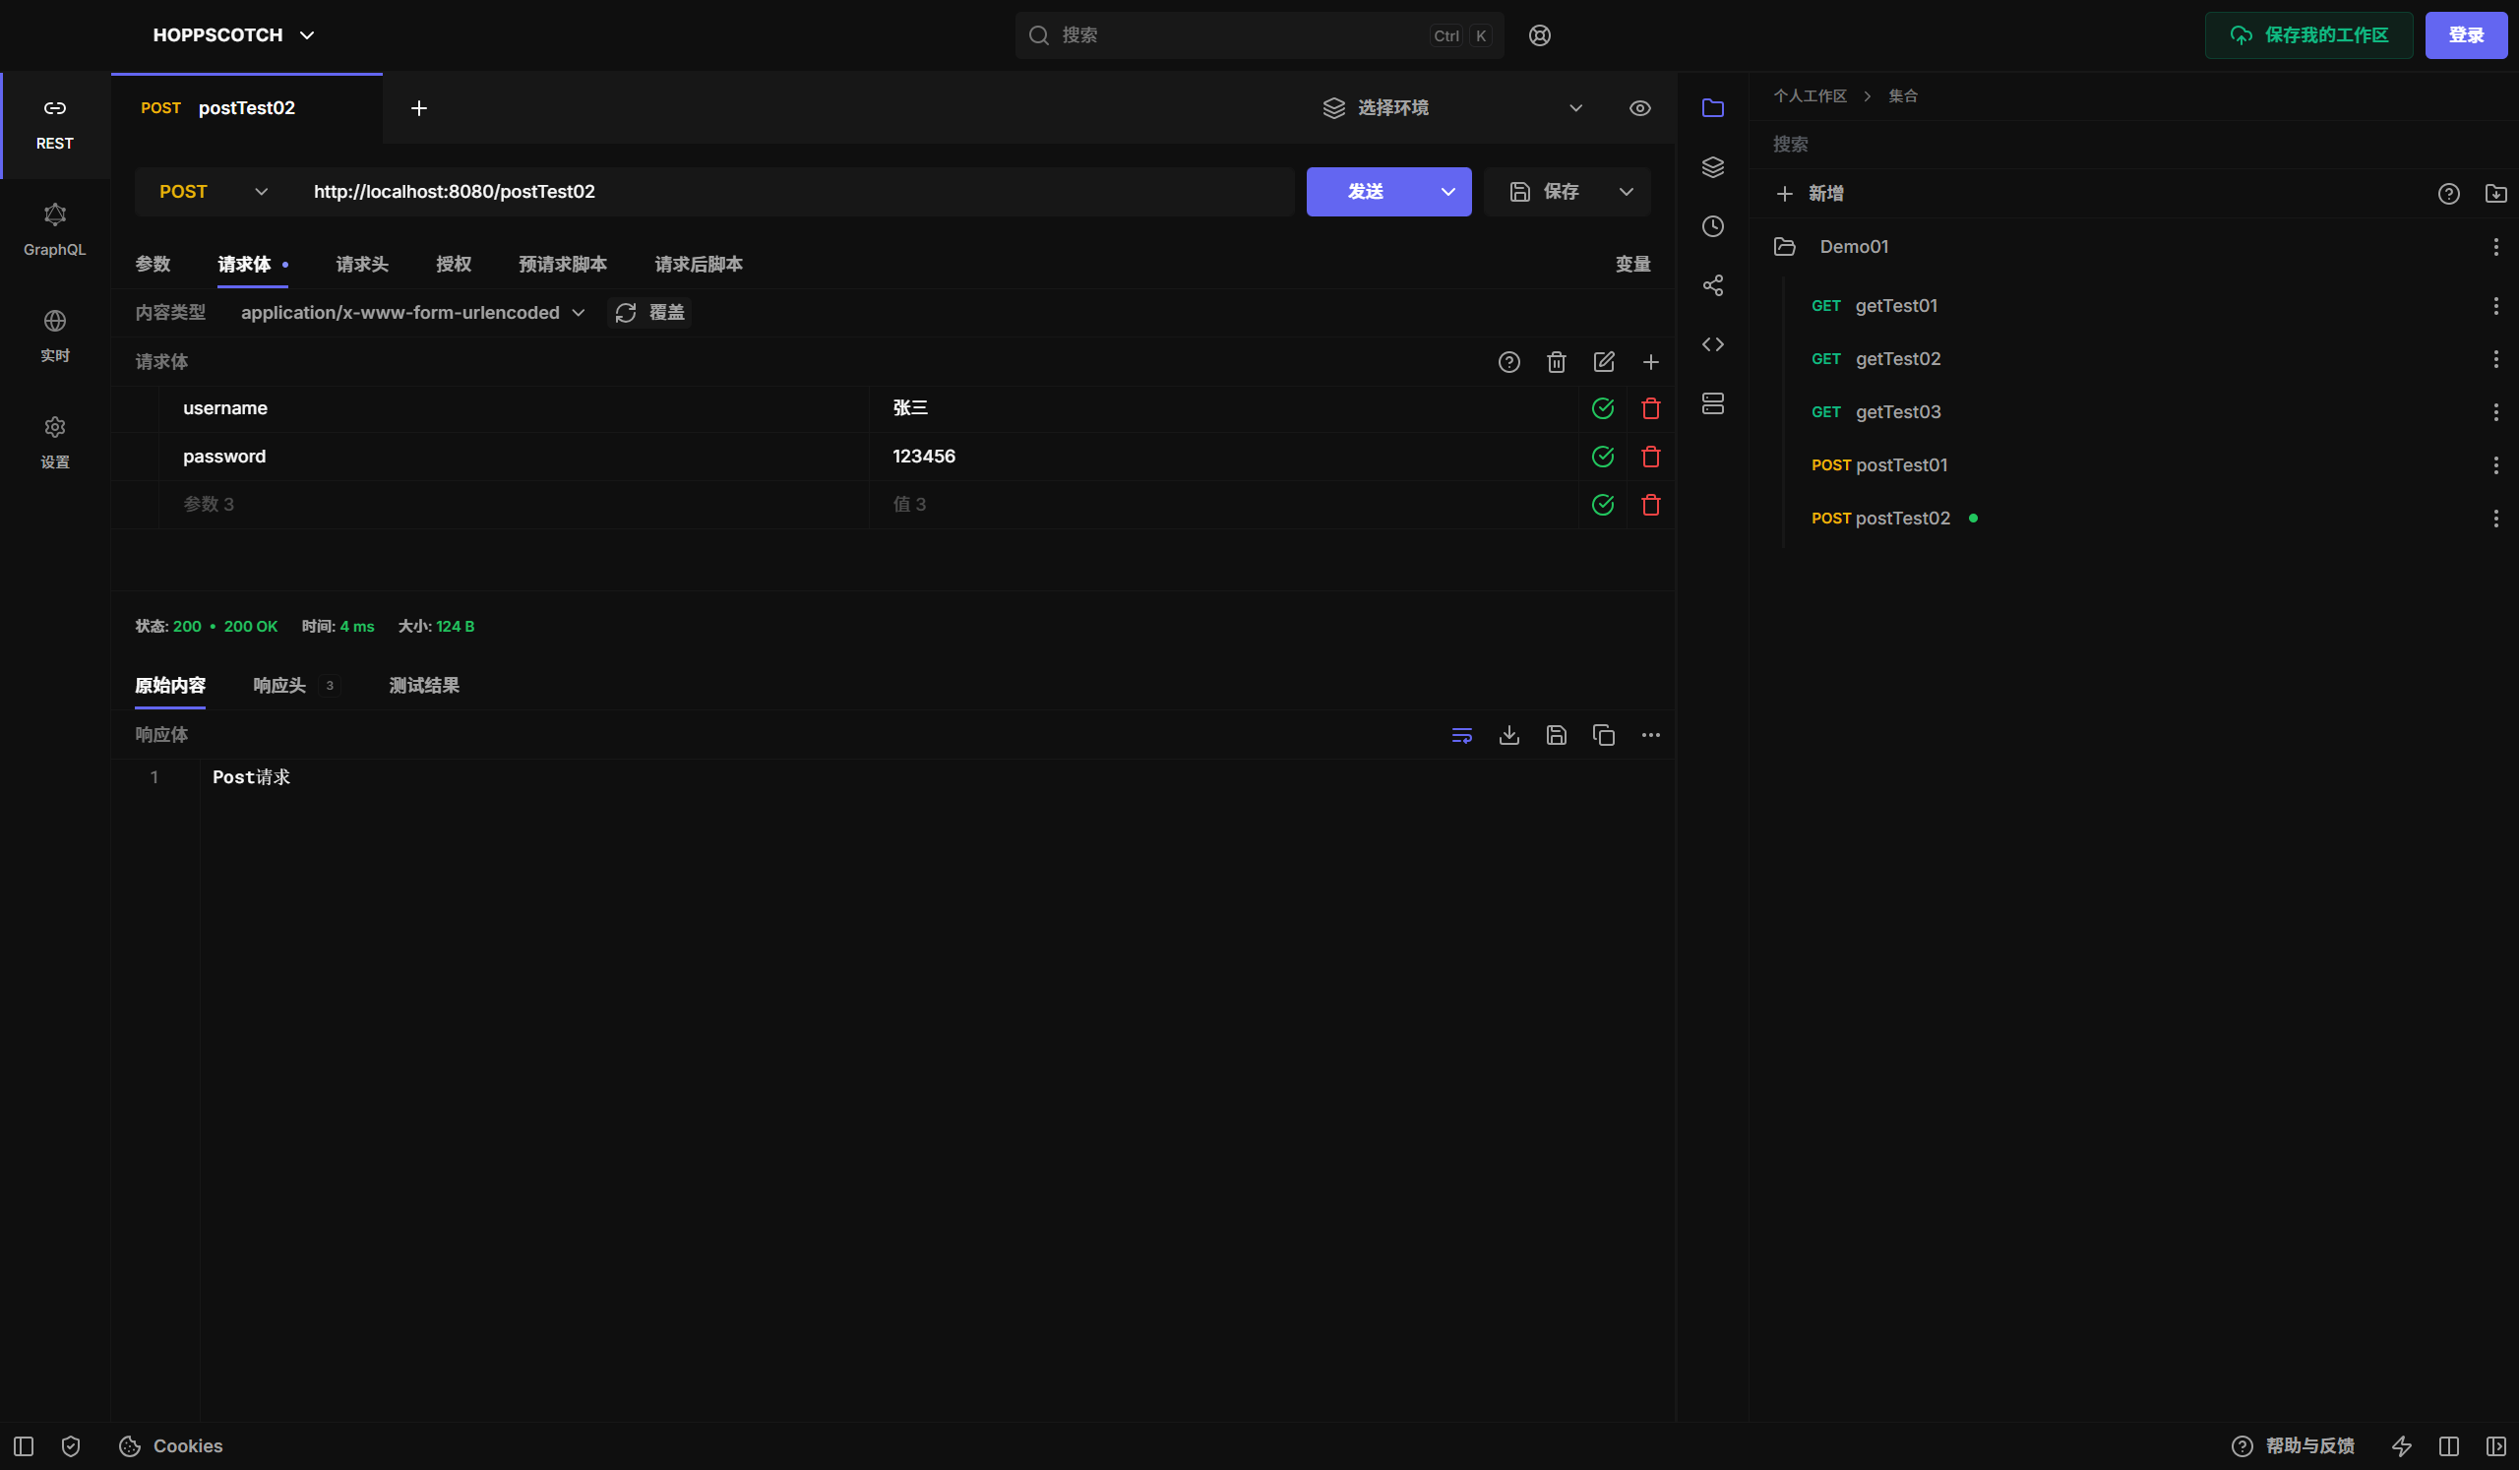
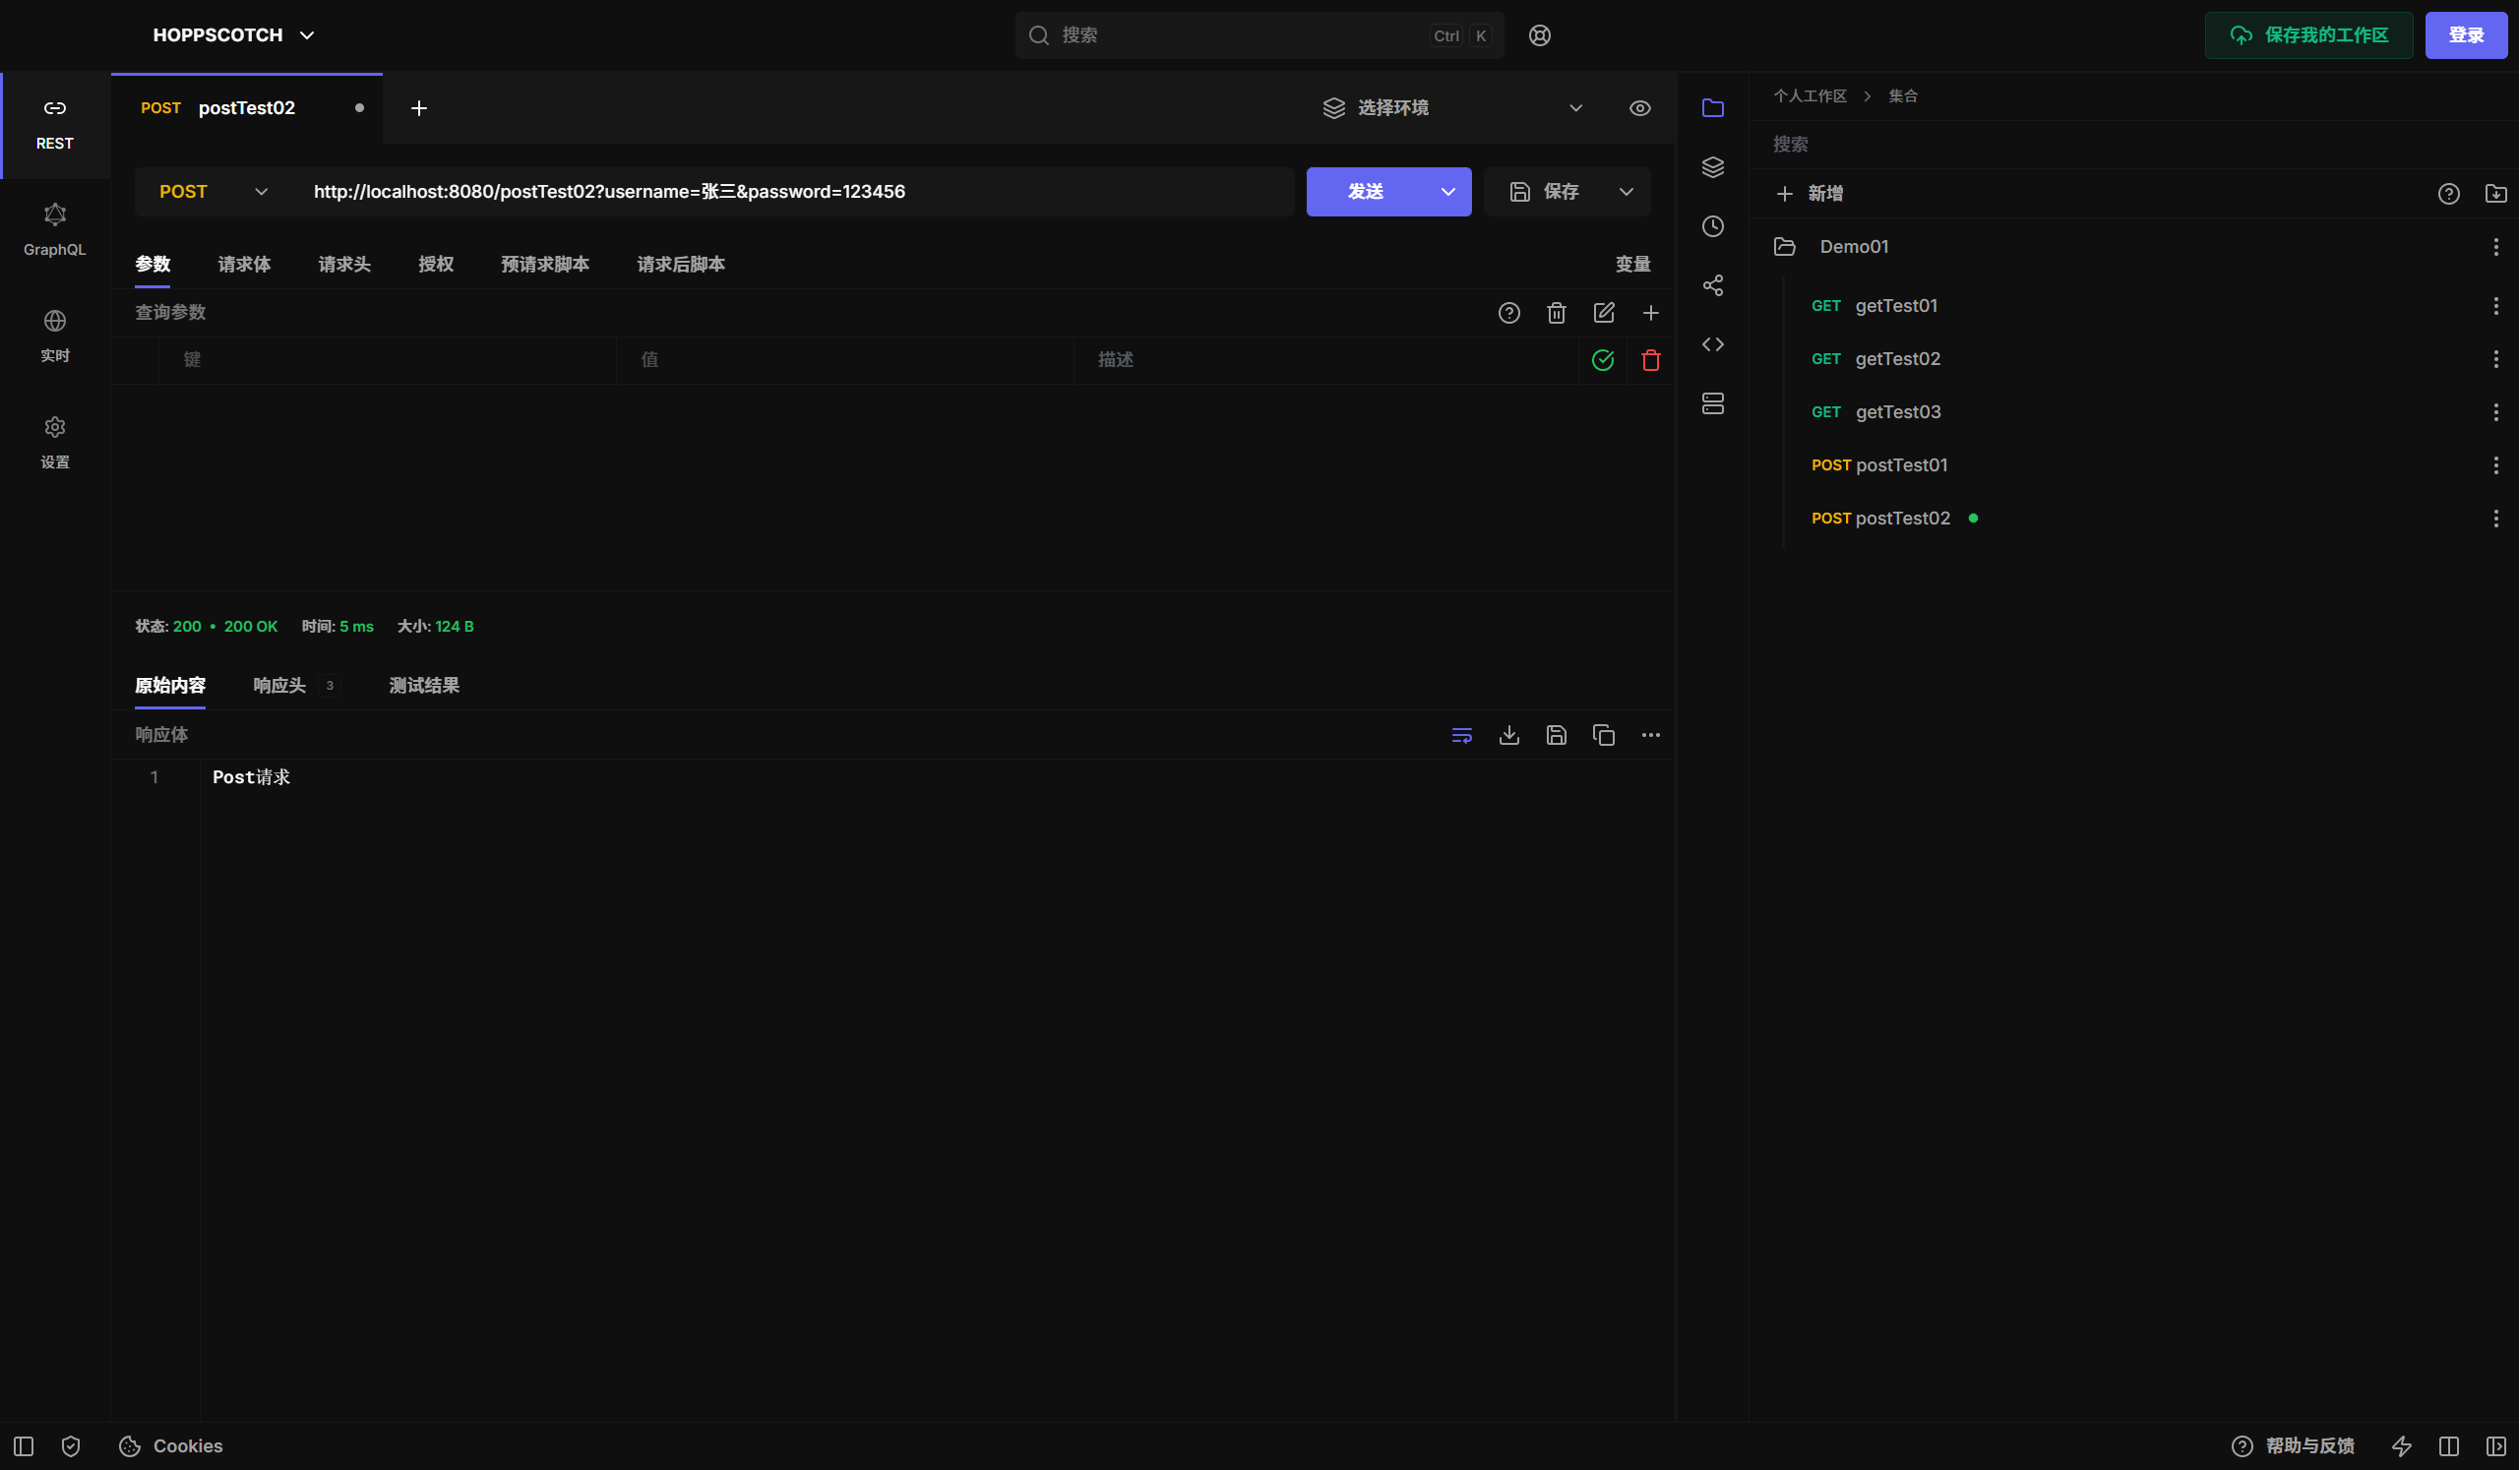
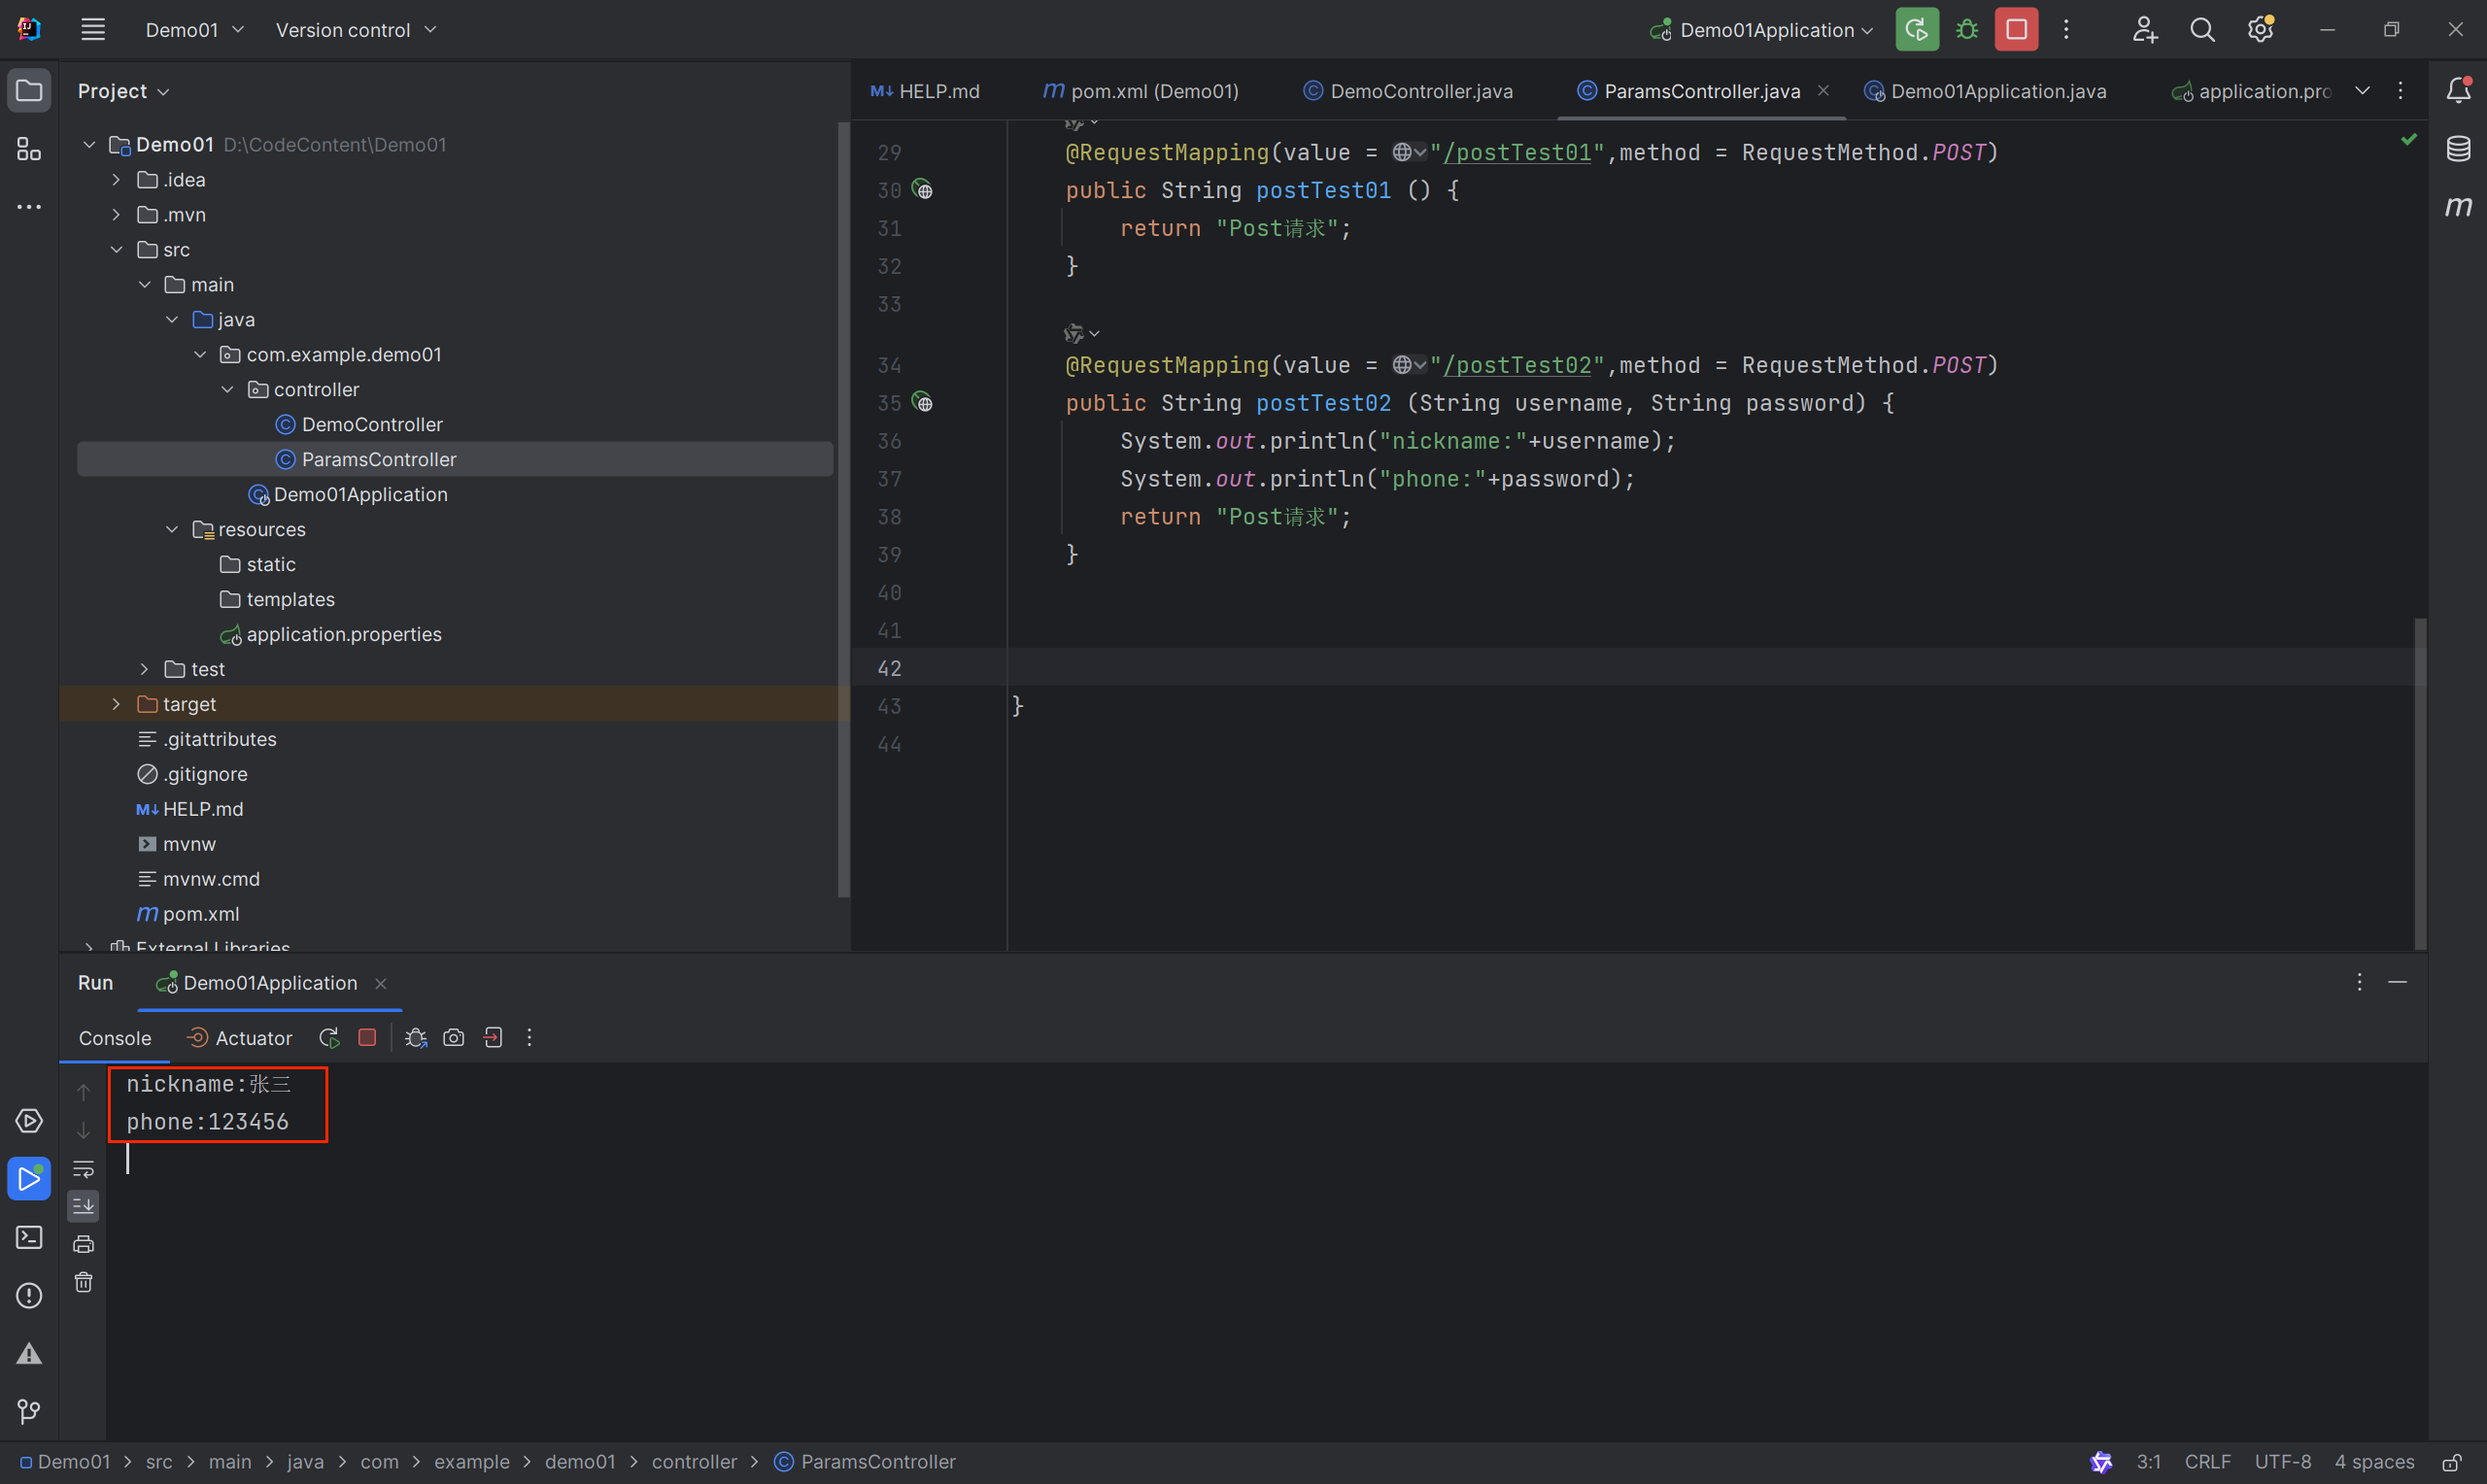
    @RequestMapping(value = "/postTest02",method = RequestMethod.POST)
    public String postTest02 (String username, String password) {
        System.out.println("nickname:"+username);
        System.out.println("phone:"+password);
        return "Post请求";
    }
请求体方式请求接口
 url后面接参数请求接口
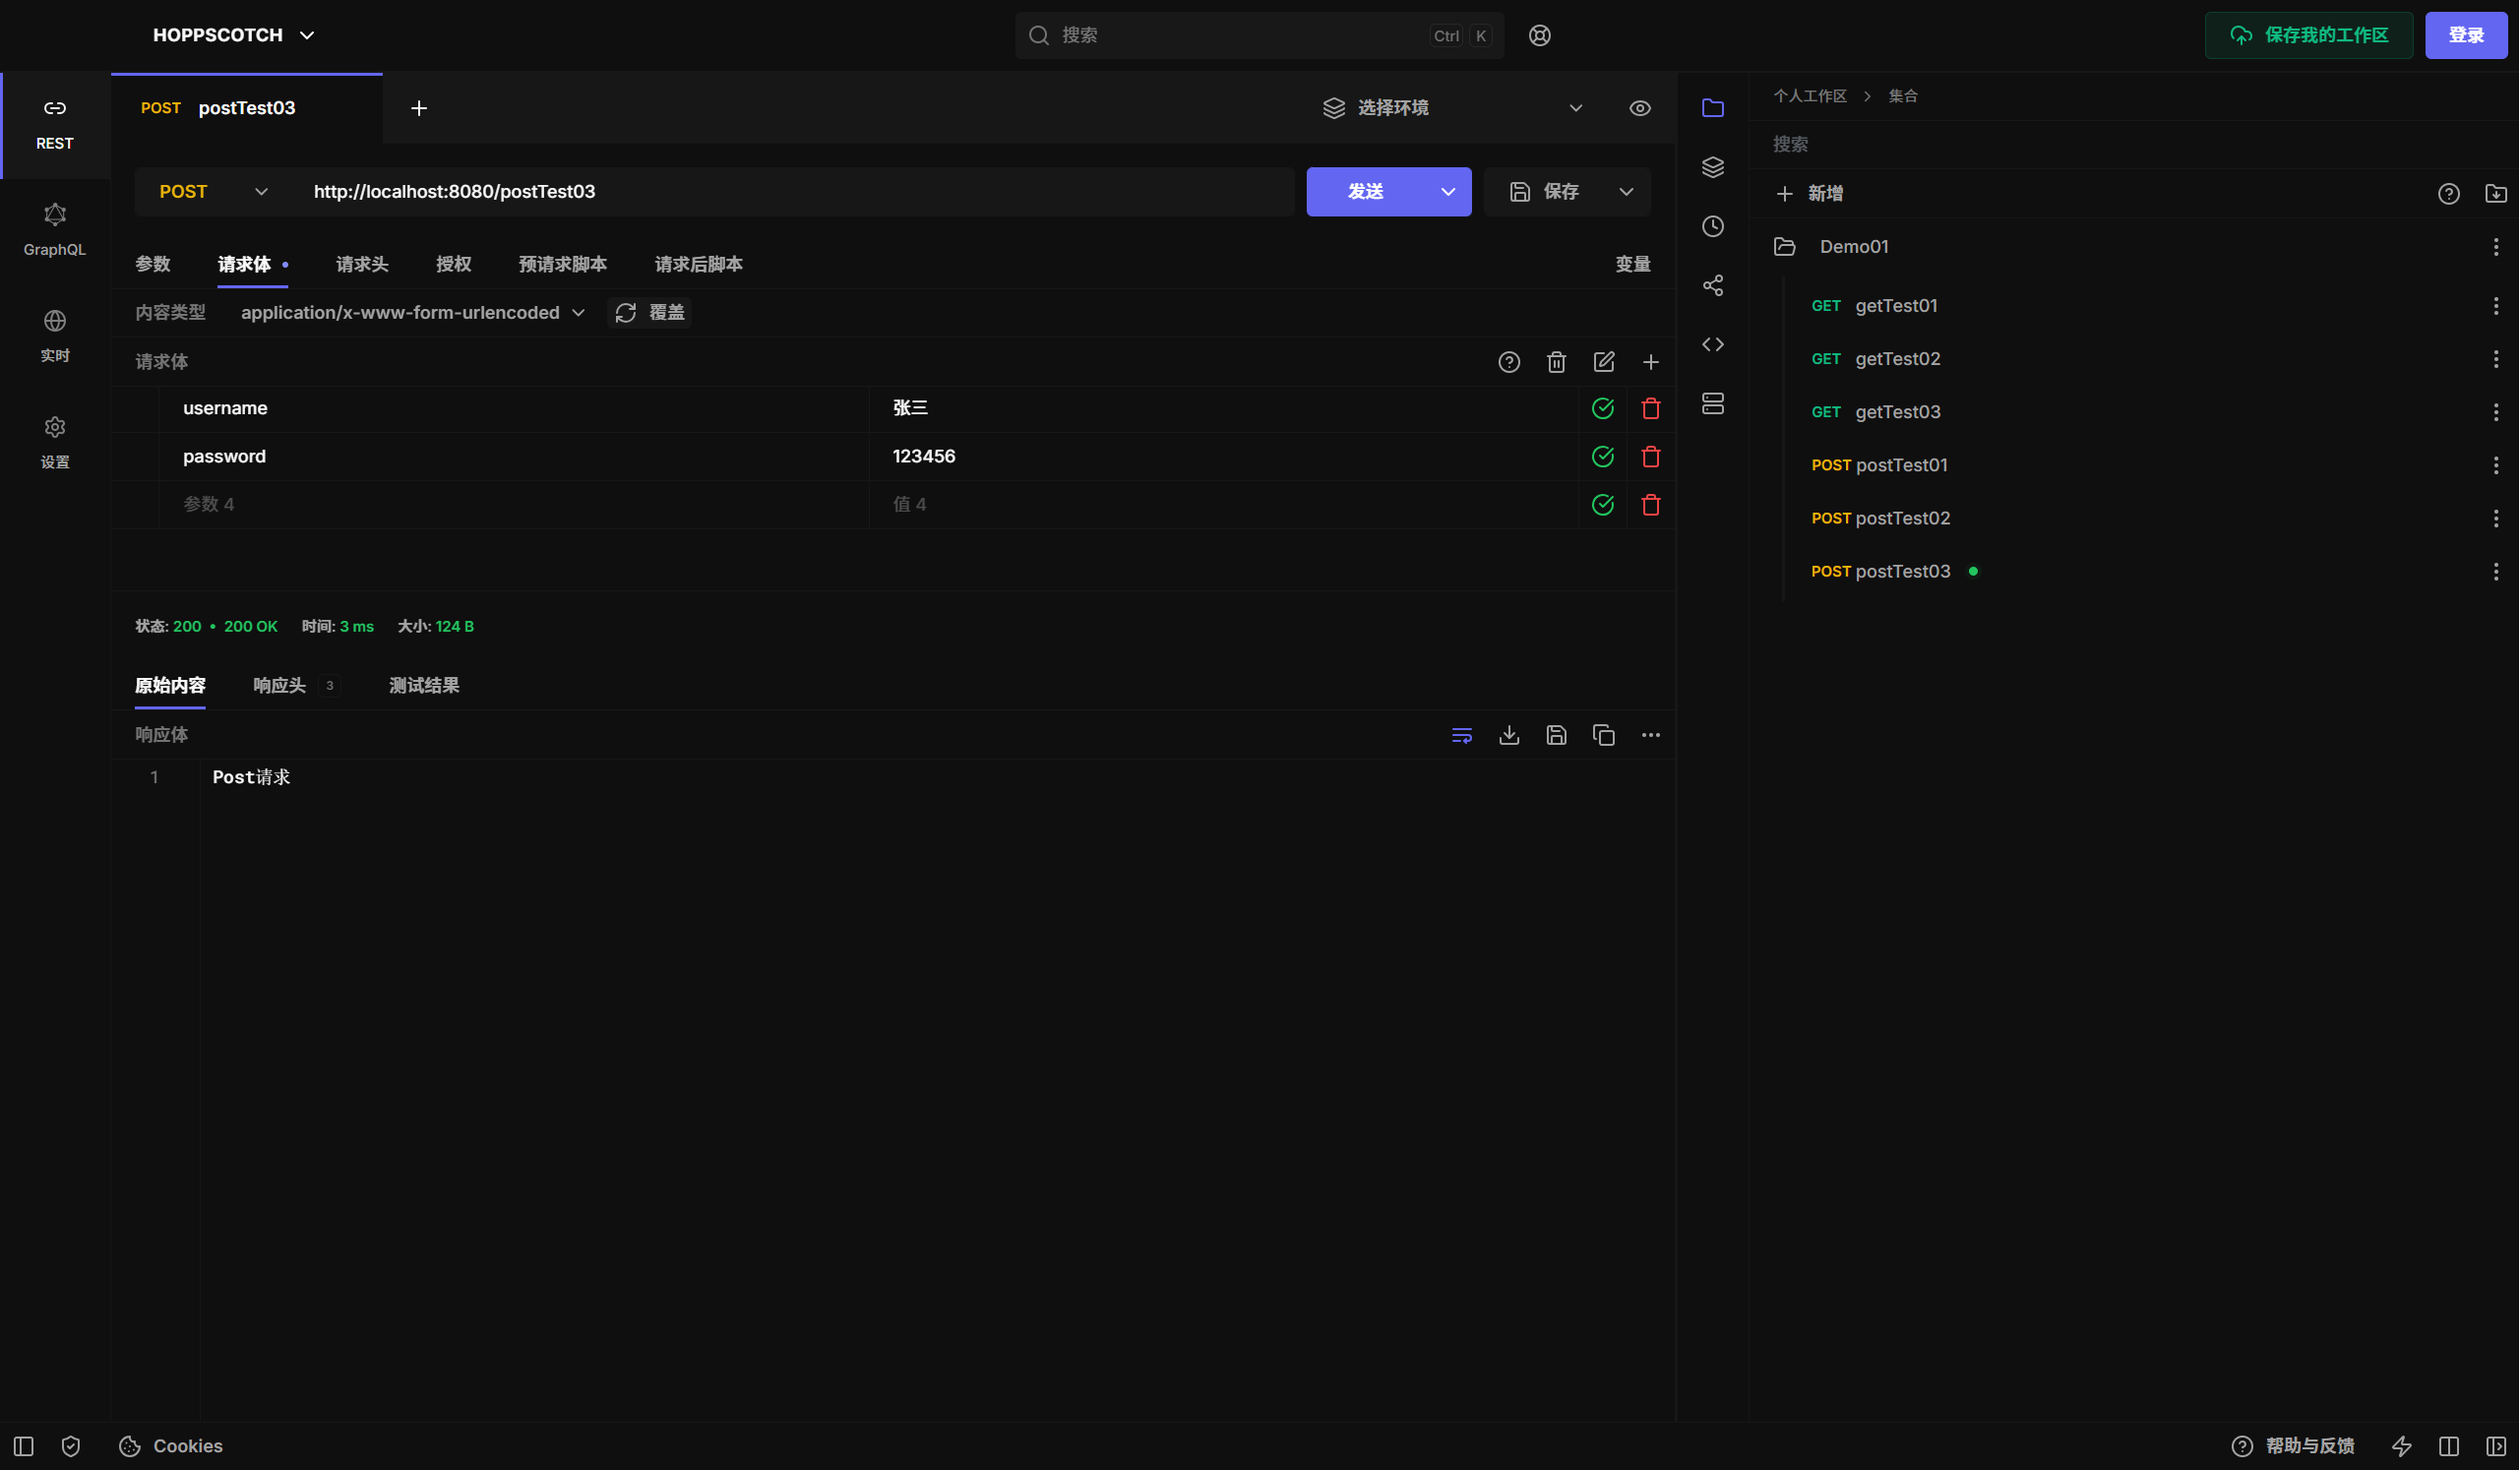
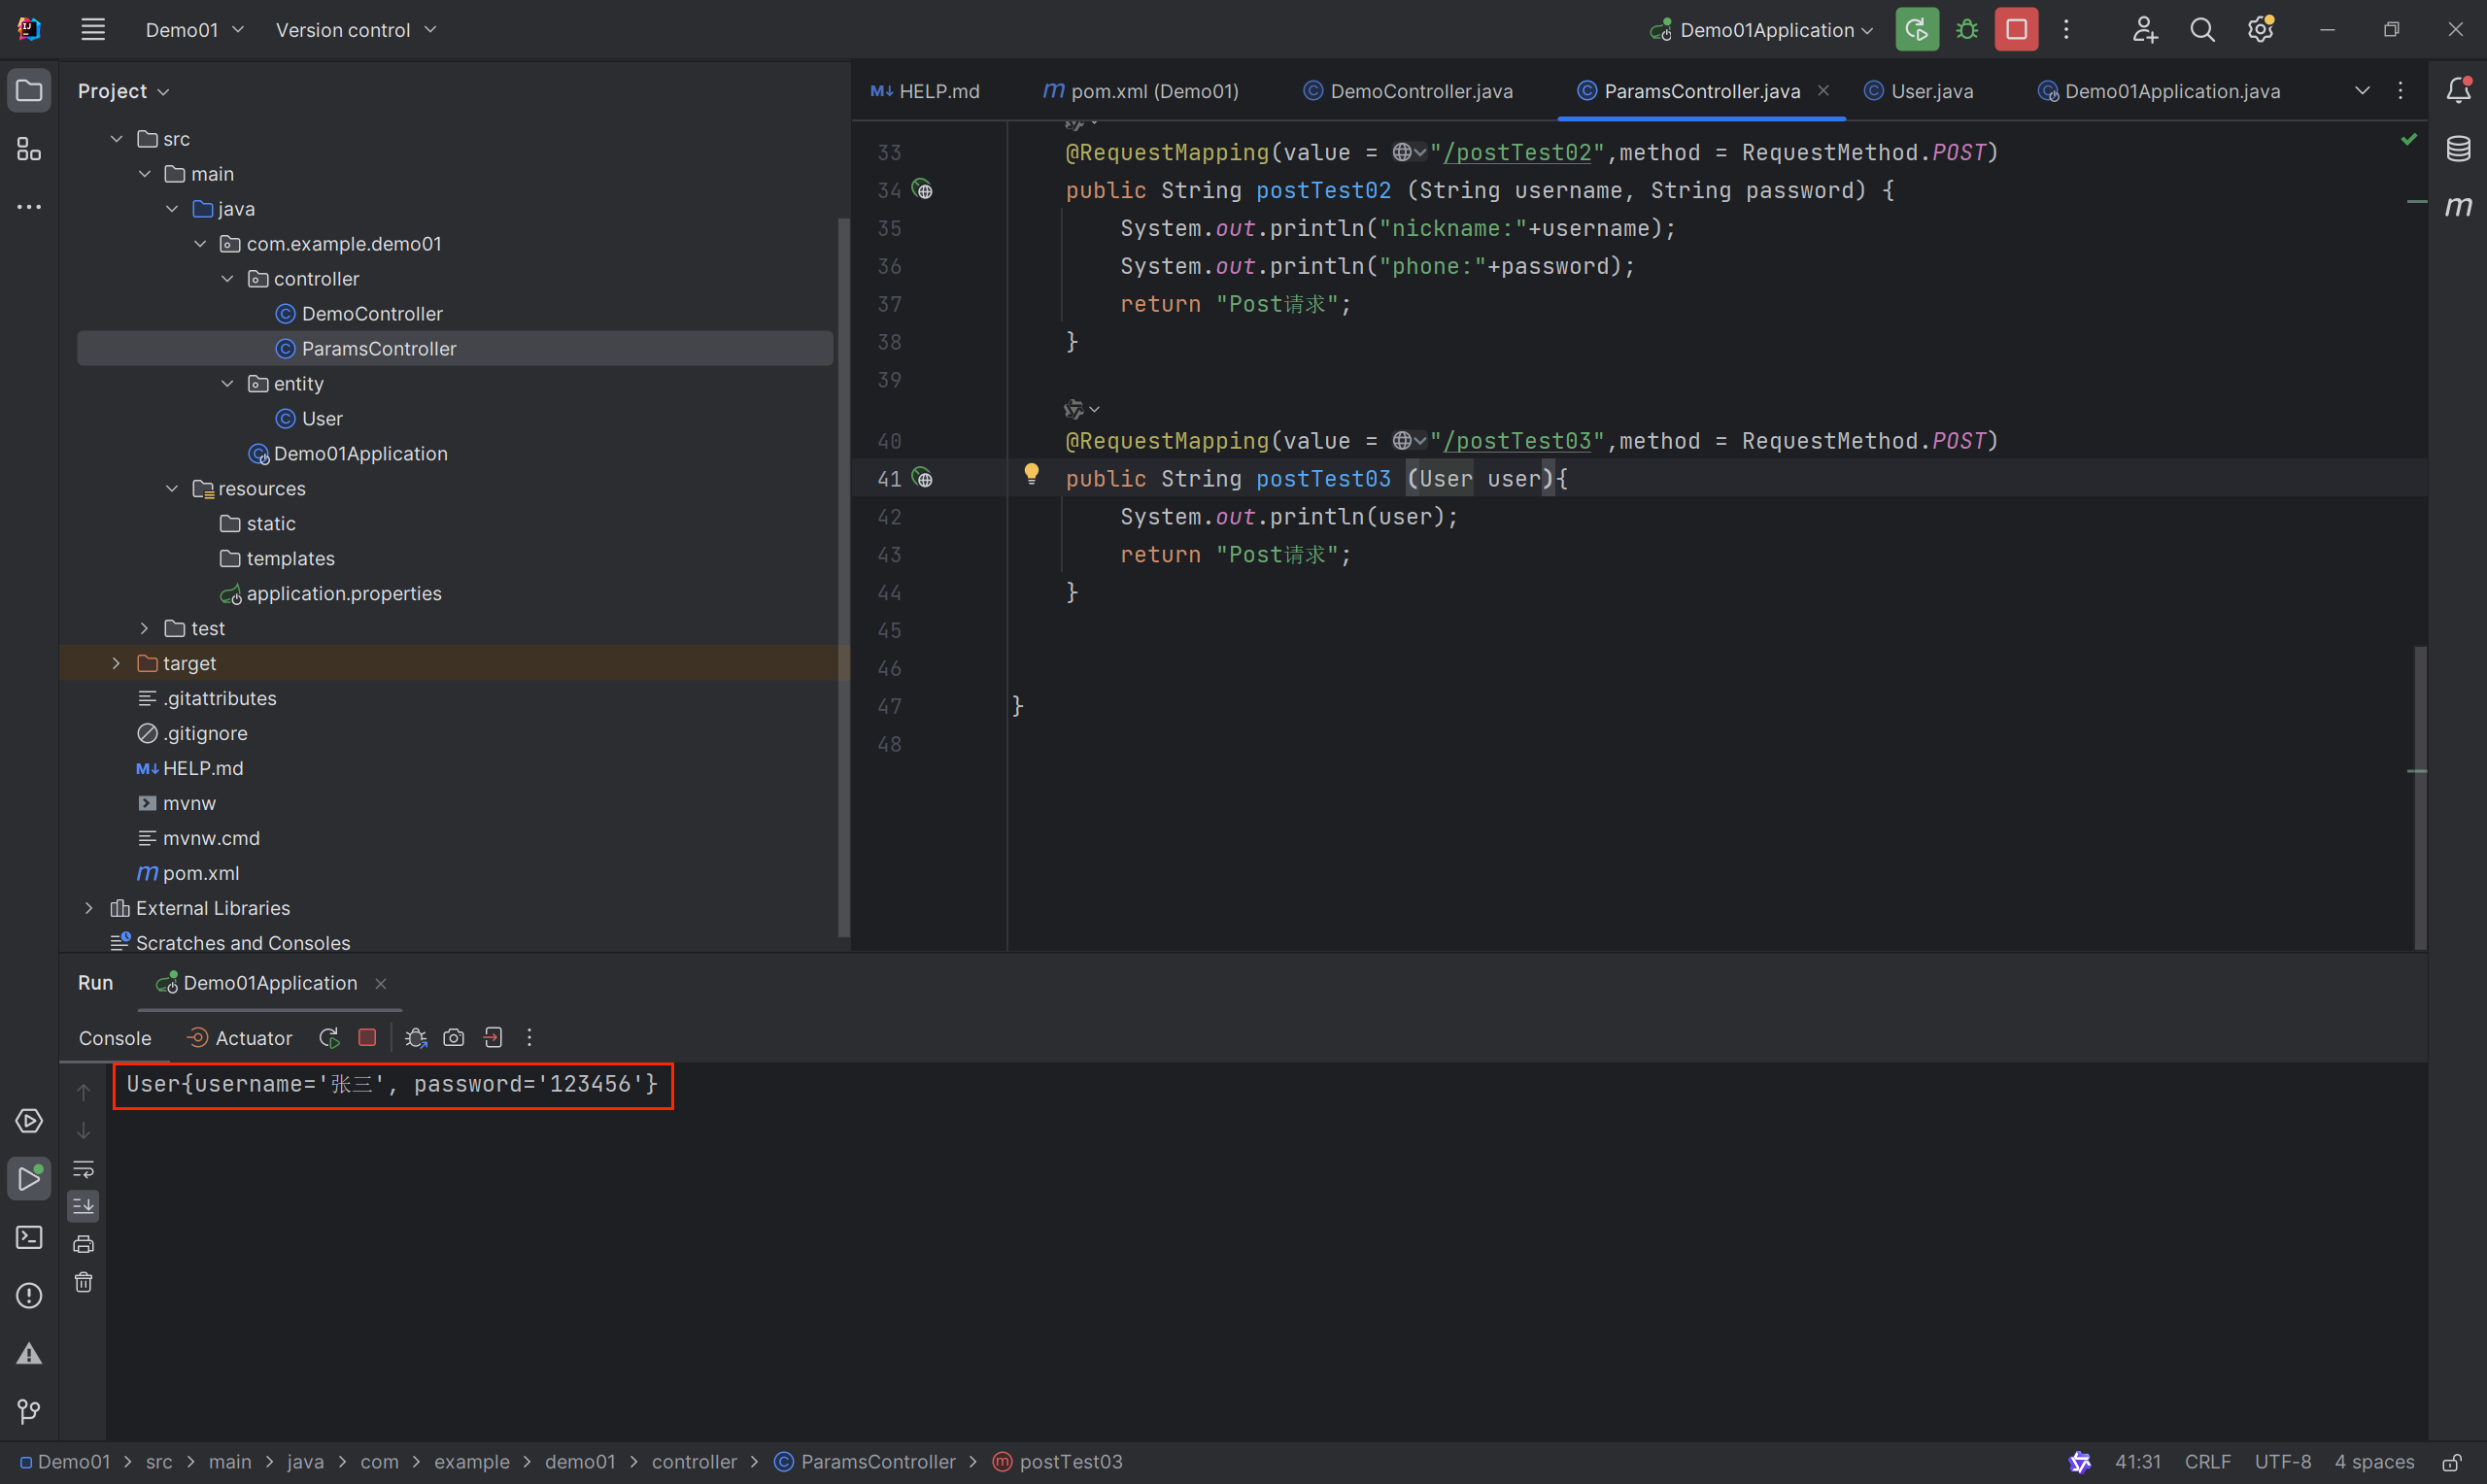
新建postTest03接口
@ModelAttribute表单接受提交对象 不写也可;
    @RequestMapping(value = "/postTest03",method = RequestMethod.POST)
    public String postTest03 (User user){
        System.out.println(user);
        return "Post请求";
}新建entity包 → 新建User类
package com.example.demo01.entity;

public class User {

    private String username;

    private String password;

    public String getUsername() {
        return username;
    }

    public void setUsername(String username) {
        this.username = username;
    }

    public String getPassword() {
        return password;
    }

    public void setPassword(String password) {
        this.password = password;
    }

    @Override
    public String toString() {
        return "User{" +
                "username='" + username + '\'' +
                ", password='" + password + '\'' +
                '}';
    }
}
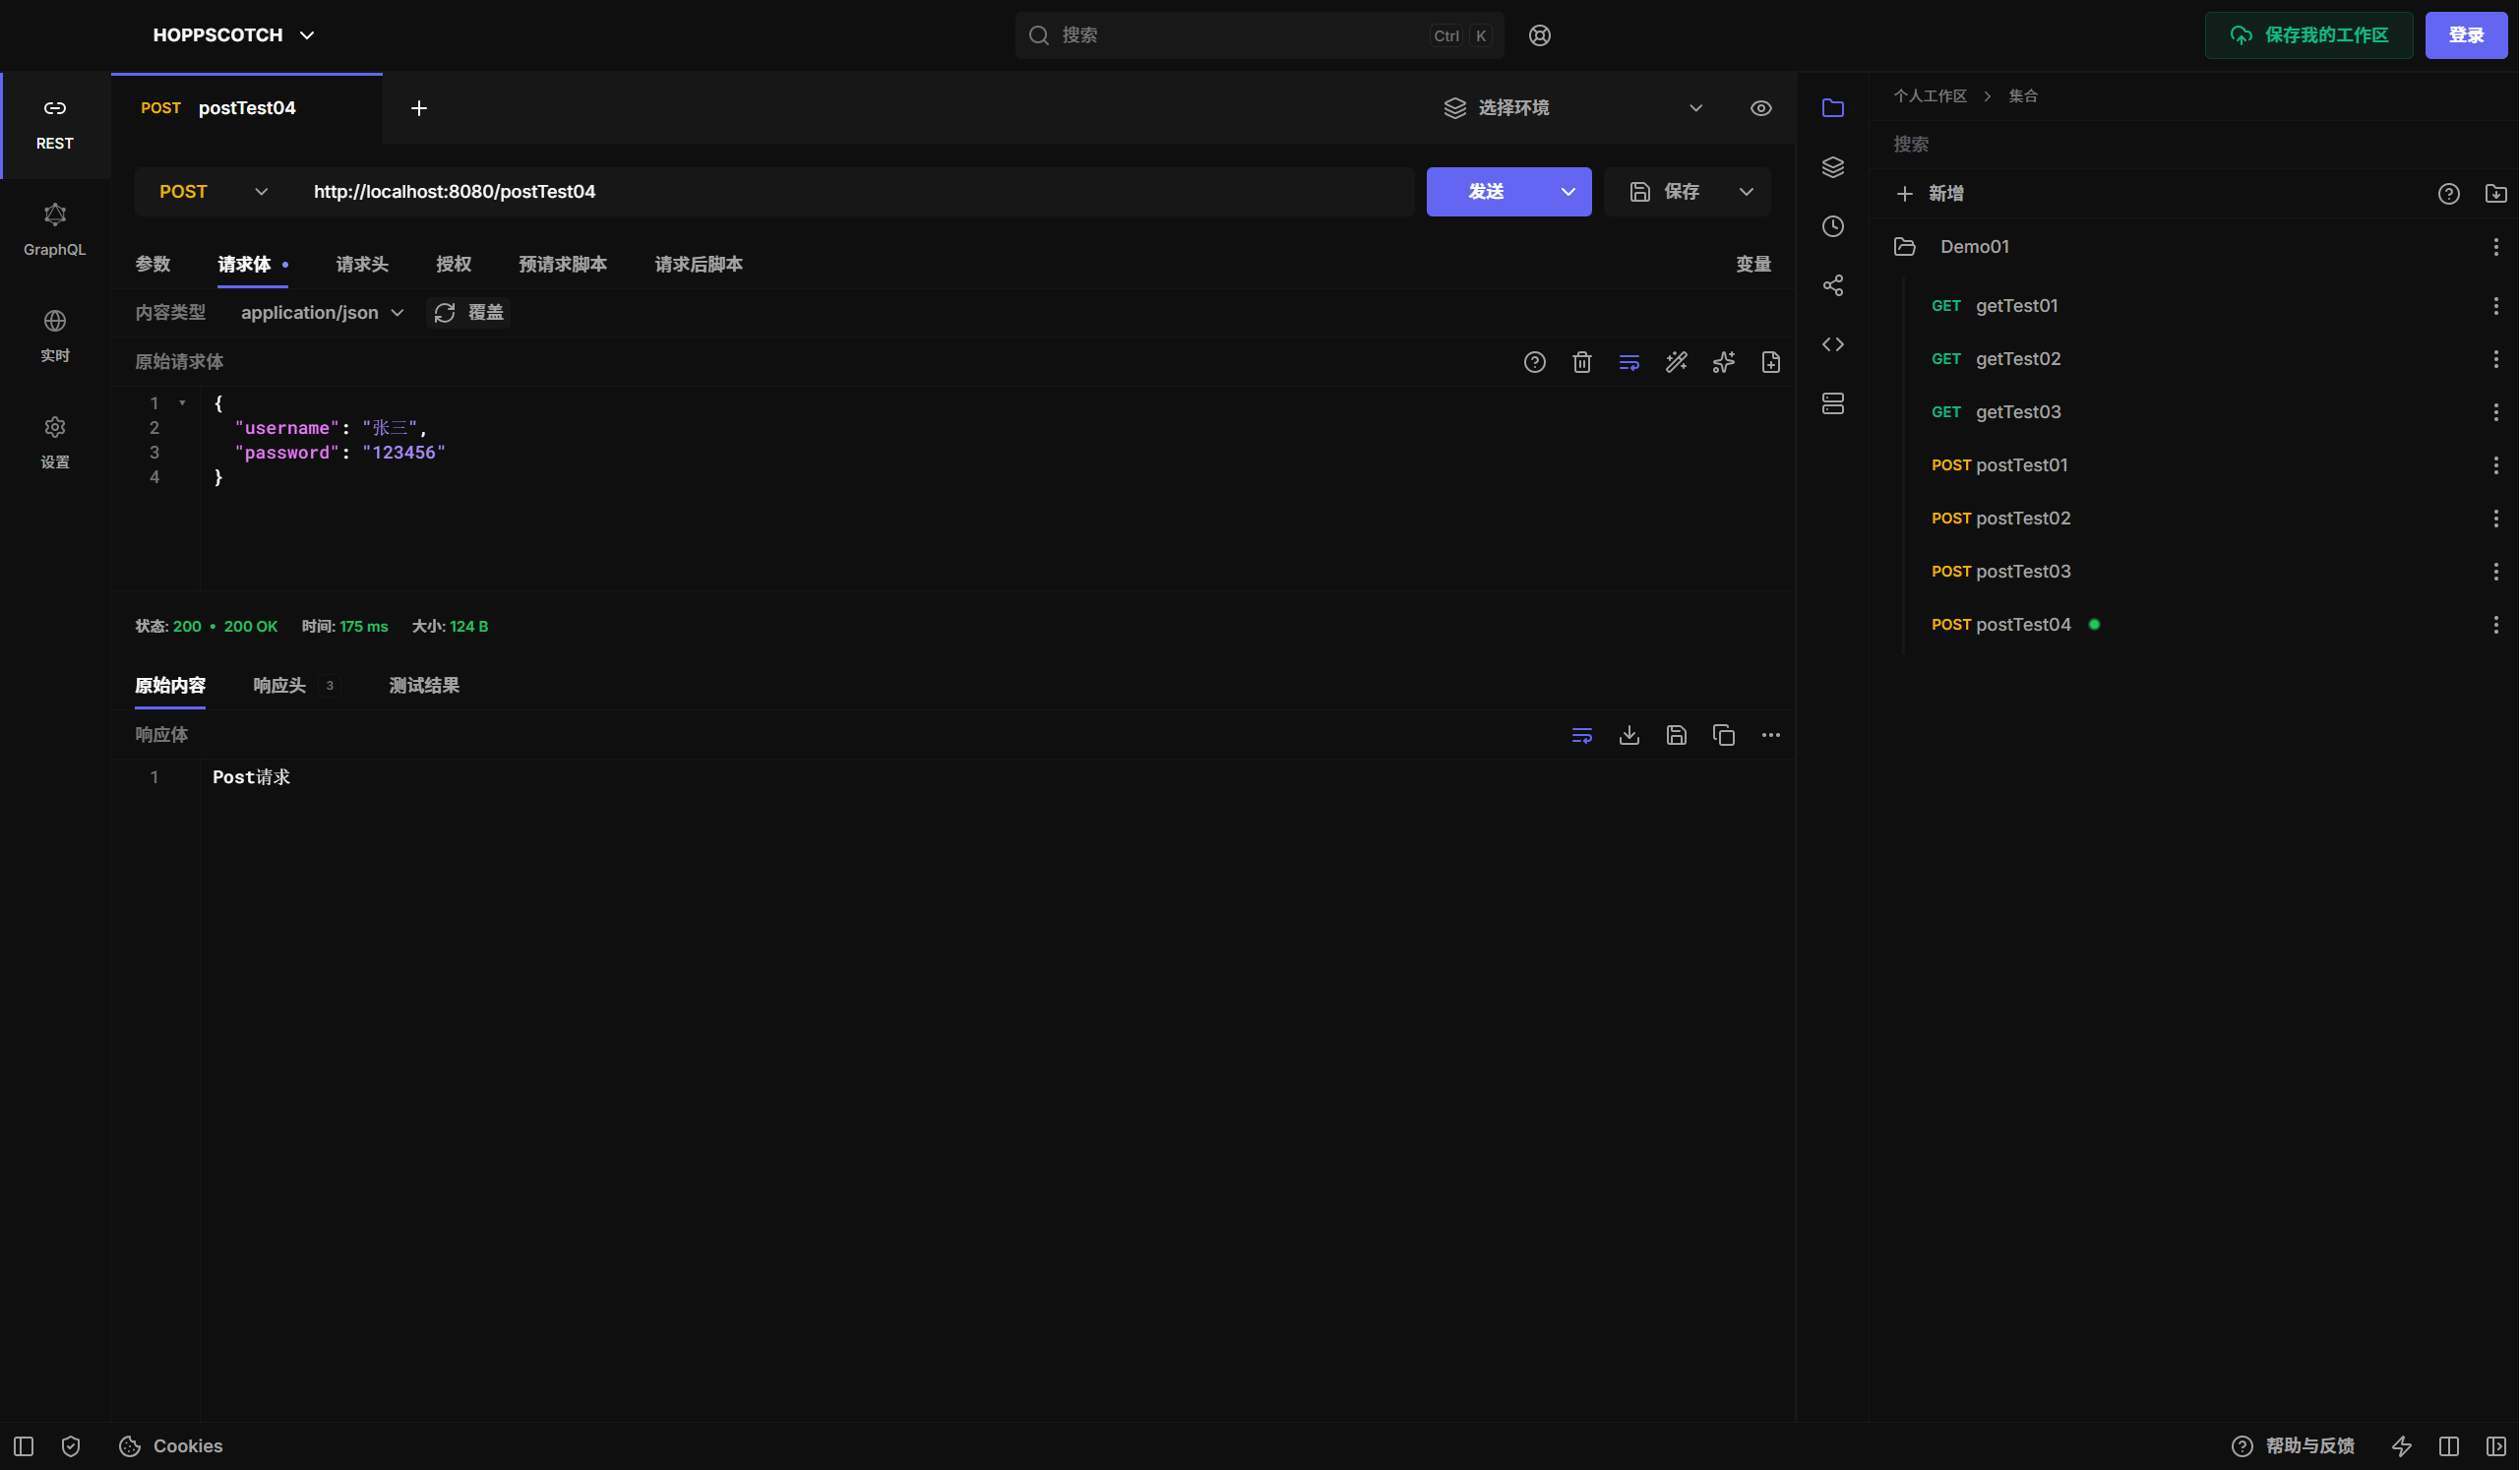
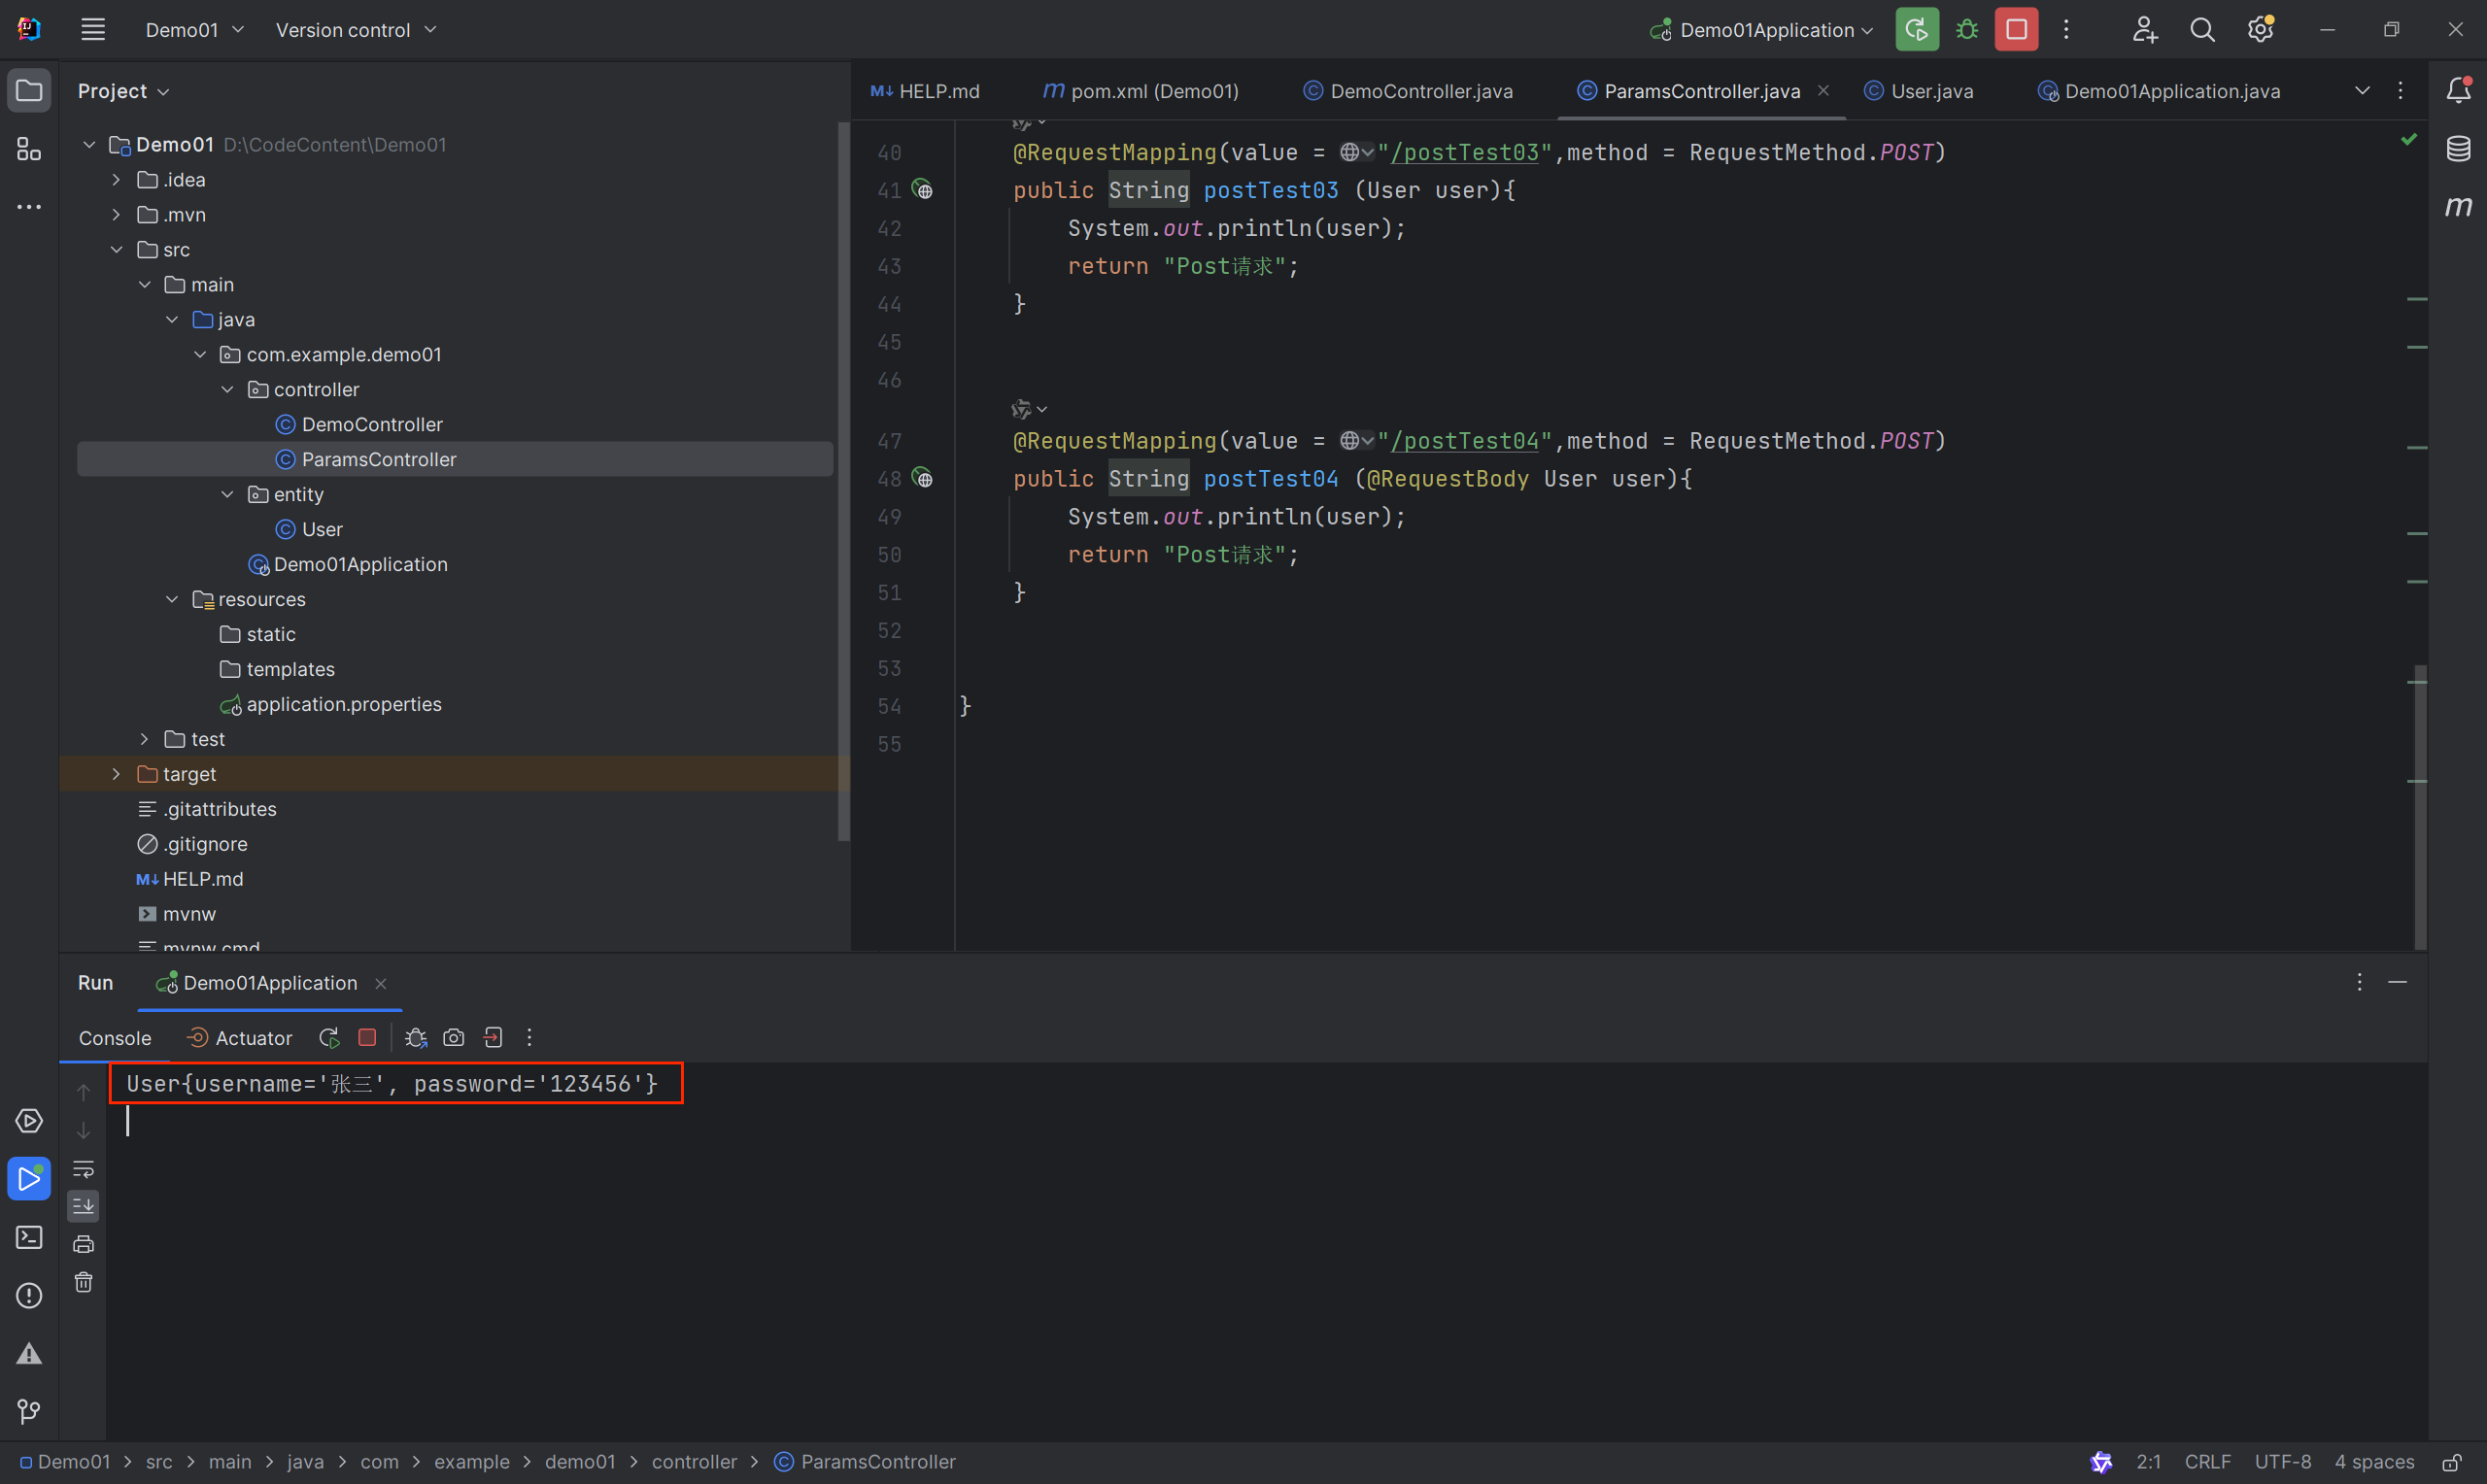
新建postTest04接口
@RequestBody前端传的参数为json类型,数据类型也要和实体字段一一对应;
    @RequestMapping(value = "/postTest04",method = RequestMethod.POST)
    public String postTest04 (@RequestBody User user){
        System.out.println(user);
        return "Post请求";
    }
新建test接口
/**通配符 匹配任意层级的请求路径;/*通配符 匹配任意一级的请求路径;
    @RequestMapping(value = "/test/**")
    public String test(){
        return "通配符请求";
    }